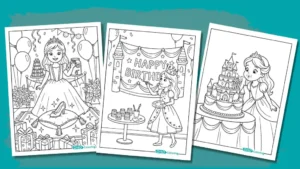
Today the princess of the castle turns eight. The moment she opened her eyes, she smelled vanilla drifting up from the kitchen, and she knew this was no ordinary day. A cake was baking downstairs, banners were going up in the garden, and the guests were still hours away.
These princess birthday party coloring pages follow her whole celebration, from putting on her crown to posing for the evening photo. Kids can color along with the story as it unfolds. Each scene also comes with a short true fact, so little ones pick up something new while the crayons are moving. Parents only need to hit print, and the kids will take it from there.
Printable Princess Birthday Party Coloring Pages for Kids
Pick a scene from the party below, from the crown and castle cake to the piñata and the pumpkin carriage. Tap any image to open the full-size page, then download the high-resolution PDF and print it at home.








The Princess’s Birthday Story: From Getting Ready to the Evening Photo
The princess’s party unfolds across eight scenes, from morning to evening. Each scene leads right into the next, so coloring the pages in order builds the whole story as you go. Every scene also comes with a true fact, so kids learn something while they color.
Getting Ready with the Crown
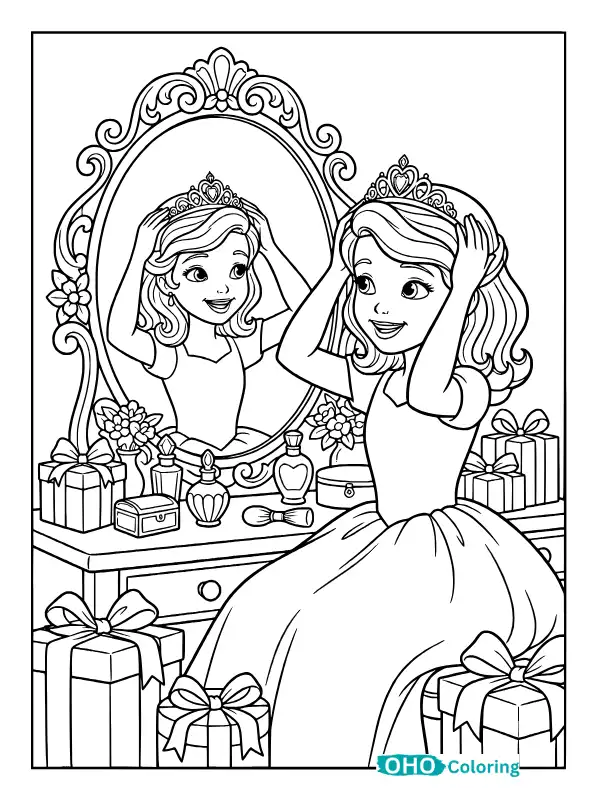
After her bath, the princess went straight to her dressing table, because there was no way she was leaving her room on her birthday without a crown. Perfume bottles and a few small ribbon-tied gifts sat on the table, but she reached for the jeweled crown, set it on her hair and smiled at herself in the mirror.
This kind of crown is called a tiara, and the word is thought to come from a special headdress worn in ancient Persia. Later, European royal families had diamonds and pearls set into theirs, which is why a real tiara can be so heavy that the wearer has to walk carefully. Try coloring the jewels blue, pink and green side by side, and the crown will sparkle from across the room.
The Royal Invitation Scroll
With the crown in place, the princess noticed the rolled-up letter at the edge of the table, the one she had written for her guests the night before. She unrolled it, admired the red wax seal and ribbon edges once more, and glanced at the bouquet of roses beside it while she counted the names.
Paper like this is called parchment, and its name is thought to come from the ancient city of Pergamum, where it was made from animal skins. In the old days, a wax seal on a letter let the person receiving it know that nobody had opened it along the way. Color the seal a deep red, and alternate light and dark pink on the rose petals.
The Three-Tier Cake in the Great Hall
After one last look at the invitation, the princess came down the stairs into the great hall, where a castle-shaped cake stood in the middle of the table. It had three tiers, tall towers on top and sugar pearls around the edges. The guests hadn’t arrived yet, but she leaned toward the candles and puffed out her cheeks, as if practicing her big blow.
The tradition of putting candles on a birthday cake has roots in old stories. It’s said that people in ancient Greece offered round cakes with candles to Artemis, the goddess of the moon, so the flames would glow like moonlight. That wasn’t a birthday ritual, but the story of the candlelit cake is often traced back to it. Many historians also link the custom of candles on a child’s birthday cake to a German celebration called Kinderfest. For the cake, use dark colors on the towers and light ones on the walls, so every tier stands out.
Gifts Hidden Behind the Ribbons
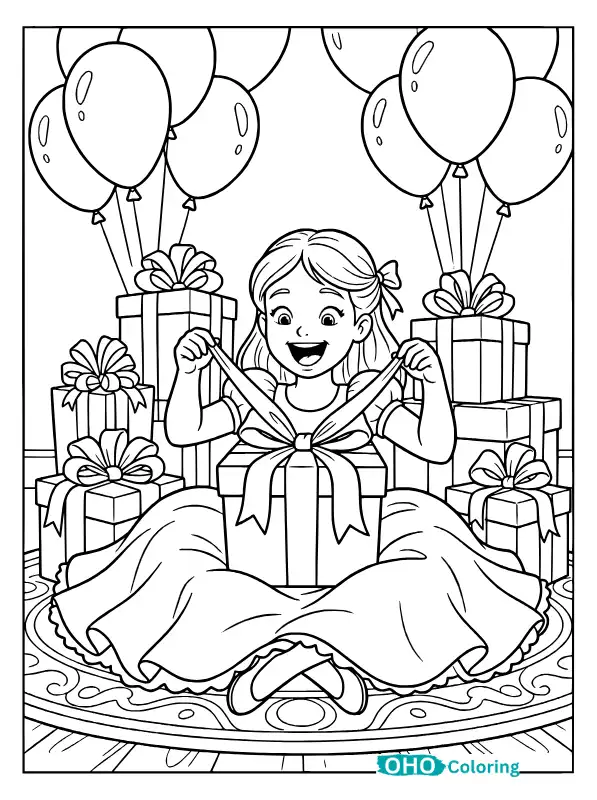
Once she had seen the cake, the princess noticed the pile of gifts on the carpet. She sat down cross-legged and started tugging the satin ribbon on the biggest box while balloons bobbed in every direction. Every box had a different bow, so she had to decide each time which ribbon to pull first.
Wrapping gifts in colorful paper is a fairly recent habit. In 1917, a shop in Kansas City ran out of colored tissue paper, so the brothers who ran it, the Hall brothers, sold decorated paper made for lining envelopes instead. People loved it so much that two years later the brothers began making their own gift wrap. Give each box its own color, and color its ribbon something different.
Tea Party with a Teddy Bear
All the presents were open, but the guests still hadn’t arrived. The princess wasn’t about to sit around bored, so she put a party hat on her favorite teddy bear and invited him to tea. A teapot went on the garden table, little sandwiches filled the cake stand, and she poured tea into the bear’s cup with perfect manners.
The teddy bear got its name from President Theodore Roosevelt, whom people called “Teddy.” After an event involving him in 1902, toy stores started selling bears. Tea goes back even further. It began in China and made its way to Britain, where afternoon tea with a light snack became fashionable in the 1840s. Color the bear in brown and honey tones, and use a sharp pencil for the tiny flowers on the teapot.
Decorating Cupcakes in the Kitchen
While sipping her tea, the princess remembered that the cupcakes weren’t ready for the guests yet. She tied an apron over her gown and dashed to the kitchen, grinned at the frosted cupcakes on the silver tray, and placed star-shaped sprinkles on top, one at a time.
Cupcakes got their name because they were originally baked in small cup-like dishes. A 1796 American cookbook includes a recipe for “a light cake to bake in small cups,” while the word “cupcake” itself showed up a few decades later, around 1828. Use light colors for the swirls of frosting, add tiny dark dots for the sprinkles, and fill the tray with light gray for a silvery shine.
The Crown Piñata in the Garden
The cupcakes were just done when the doorbell rang and the guests began arriving in the garden, one after another. Now it was time for the real fun, because a giant crown-shaped piñata hung from the archway. The princess gripped her star-topped stick, lined up her swing, and the banners fluttered overhead.
Historians don’t agree on where the piñata began. One belief traces it to China, while in Mexico it became part of the Christmas-season tradition called Las Posadas, where its seven points are said to stand for seven sins. The traditional piñata was made from a clay pot and filled with candy and fruit. Color each part of the piñata in a bright shade, one after another, and repeat those colors on the banners so the whole picture looks like one party.
Evening Photo in Front of the Pumpkin Carriage
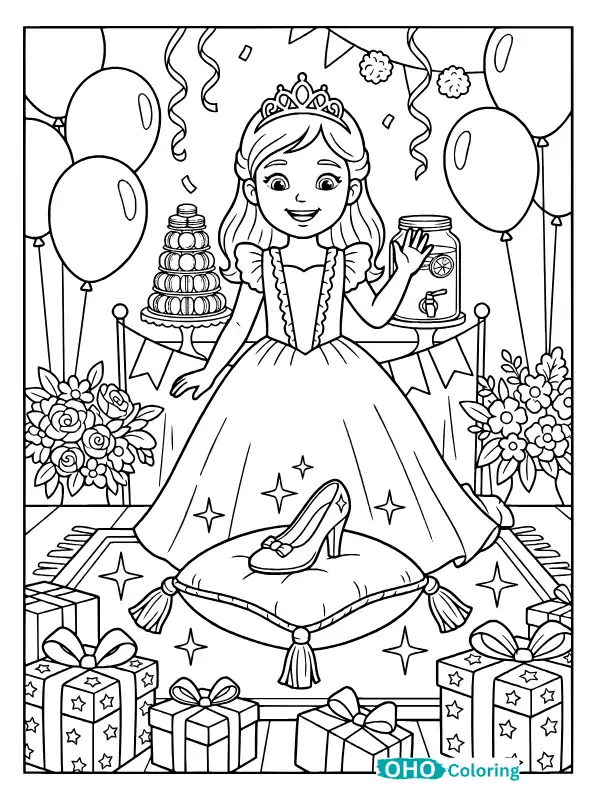
The piñata broke, the candy got shared, and after all the games someone remembered the photo. A big pumpkin carriage frame stood in one corner of the garden, covered with bunches of balloons and ribbon flowers. The princess stepped behind it, waved with a big smile, and the other kids crowded in on both sides.
The pumpkin carriage comes from the story of Cinderella. French writer Charles Perrault is thought to have added the pumpkin carriage and glass slipper to the tale in 1697. The word “photography” is no older than that story either, since it was popularized around 1839 by scientist Sir John Herschel. Make the carriage a bright orange, use gold on the wheels, and give each child a different color outfit so the photo looks full of life.
Who These Pages Are For
These pages work well for kids from about 3 to 12 years old. Younger children can fill in big shapes like the crown, the cake and the gift boxes, while older kids can handle small details like ribbons, jewels and sprinkles. Every page is in portrait orientation, so choose US Letter (8.5 x 11 inches) paper when you print.
Tips for Coloring Princess Birthday Party Pages
Start with light colors and save the dark ones for later. On a pink gown, lay down a light pink first, then add a slightly darker shade near the folds, and the fabric will start to look like it has depth.
In the same way, pick a palette of three or four colors for the whole picture before you begin, such as pink, gold, sky blue and white. Using every color at once makes a page look busy, but things start to blend together.
Crayons are great for big areas like the gown and the carpet. When it’s time for small parts like ribbons, jewels and sprinkles, switch to colored pencils or fine-tip markers.
Leave a little white space on the crown and jewels, since that bare spot looks like a glint of light. If your child is using markers, slip a thick piece of paper or a newspaper under the page so the ink doesn’t bleed onto the table.
Choose slightly thicker paper for printing. Gel pens and watercolor paints also stay put on heavier paper without spreading.
If several kids are coloring at a party, hand each child a different scene. When everyone is finished, hang all the pages side by side on a wall, and the whole story shows up as a colorful row across the room.
The princess’s party is winding down, but the cake, the gifts, the piñata and the carriage photo can stay on the page in color. Pick your favorite page, grab your crayons, and see what colors your princess’s birthday turns out to be. Open a page from the grid above to print it, and the kids can take it from there.