Every June, the orange lilies in the corner garden bed of Grandma’s backyard burst into bloom, and the butterflies and bees followed close behind. Little Emma would grab her box of crayons first thing in the morning and settle down right there. These Lily Coloring Pages came from that same garden bed, those same visitors and Emma’s sketchbook. She would look at a flower, copy it onto the page, and every time the lily came out a slightly different color.
Grandma would laugh and say even the flower didn’t know what color it was today. In these pages, the lilies sit in a glass jar, a teacup or an old watering can, and every page has a little visitor perched close by. The lines are thin and the spaces are open, so crayons and colored pencils both lay down color cleanly.
Printable Lily Coloring Pages for Kids
Emma’s favorite pages are all right here. Click any image to open it, then download the high-resolution PDF and print it on US Letter paper.









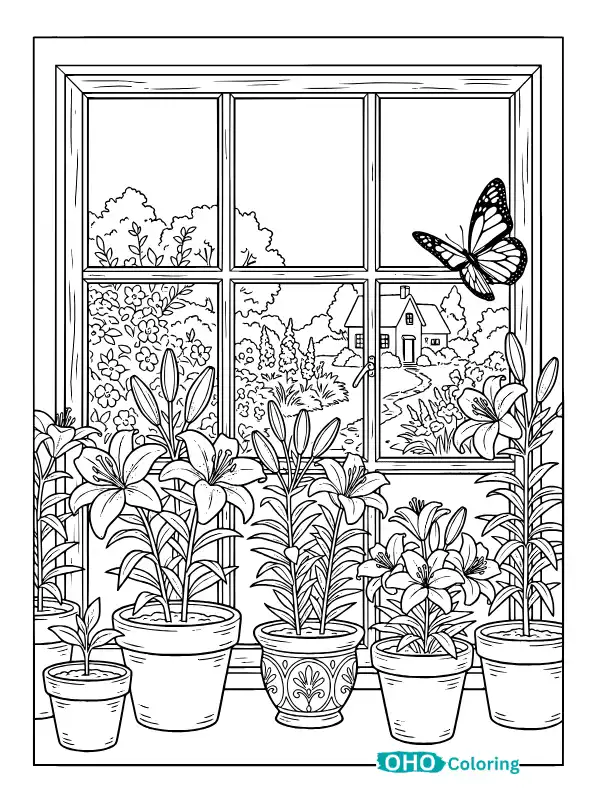
Four Visitors from Grandma’s Garden Bed and Their Lily Pages
In Emma’s sketchbook, every page turned into the story of one visitor. Sometimes a butterfly was perched there, sometimes a bee, sometimes a ladybug, and sometimes a hummingbird hanging in midair. Below are the stories of these four, along with the little facts Emma picked up from Grandma. Each story ends with a coloring tip, so your hands know what to do the moment the page is in front of you.
The Mason Jar, Tiger Lilies and a Monarch Butterfly
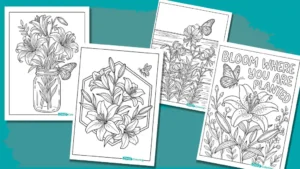
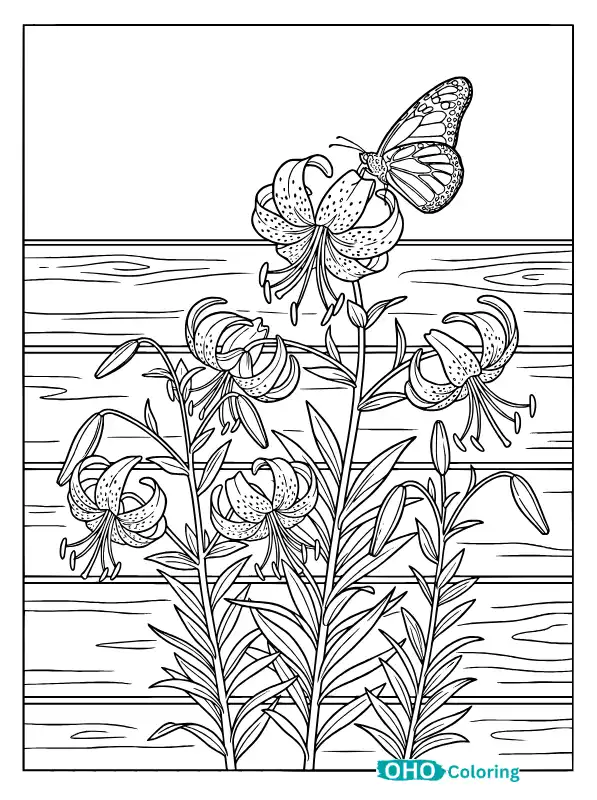
Emma’s first page was always the one with Grandma’s old mason jar. It held a bunch of tiger lilies, and a monarch butterfly often sat on the rim with her wings folded. The tiger lily gets its name from its petals, since dark spots are scattered across the orange like a tiger’s stripes. The story of the butterfly sitting beside those spots is even bigger.
Every year, monarchs fly from Canada and the United States to the forests of Mexico, a trip of roughly 3,000 miles. When Emma learned that, she drew the black veins on the butterfly’s wings so carefully that she nearly wore a hole in the paper. You can do the same: just touch the glass of the jar with light blue or gray and leave the rest alone, and it will look see-through while the flowers pop.
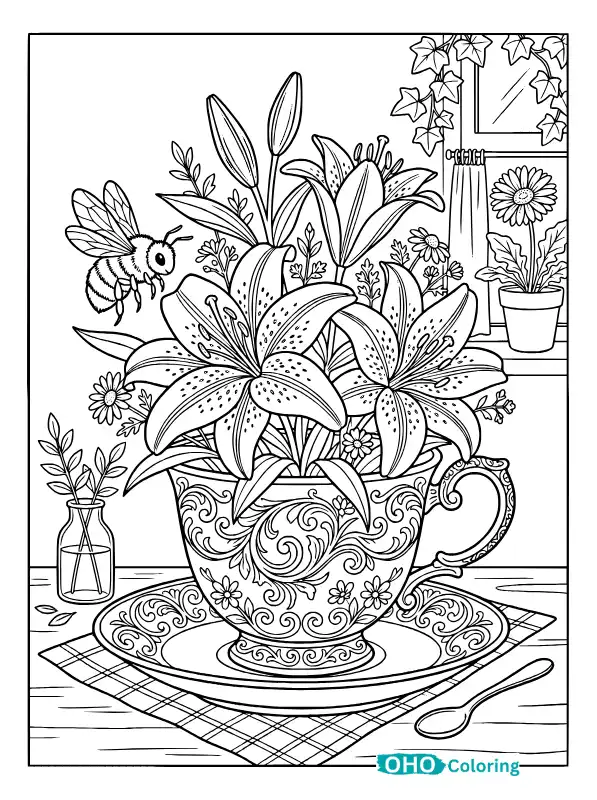
The Teacup, Stargazer Lilies and a Humming Honeybee
After coloring the butterfly, Emma’s attention would drift to a sound coming from the garden bed. It was a honeybee humming around a stargazer lily arranged in an ornate teacup. What makes this lily special is that it faces up toward the sky instead of drooping, as if counting stars, and that is how it got its name. Its strong fragrance calls the bee from far away.
Once a bee finds flowers, she returns and tells her hive mates where to go with a special dance in the air called the waggle dance. Draw a pink or deep red stripe down the middle of each petal and keep the edges light. Yellow and brown are all you need for the bee.
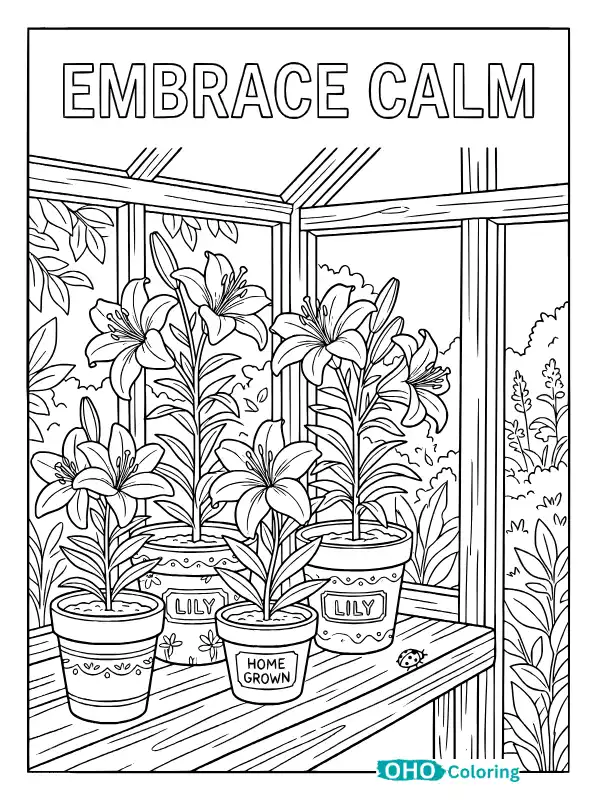
The Watering Can, Easter Lilies and a Ladybug on the Climb
After the bee, Emma’s eyes would land on a little red dot crawling along a leaf. It was a ladybug climbing the handle of a rusty watering can, and the can held tall stems of Easter lilies with their white, trumpet-shaped blooms. Grandma said this tiny beetle was the garden’s guard. It eats aphids, which suck the sap out of plants and weaken them, and one ladybug can gobble up hundreds of aphids in its lifetime. Leaving a white flower blank looks lovely, but you can also add a touch of cream and pale yellow inside. A mix of blue-gray and brown on the can makes it look old and real.
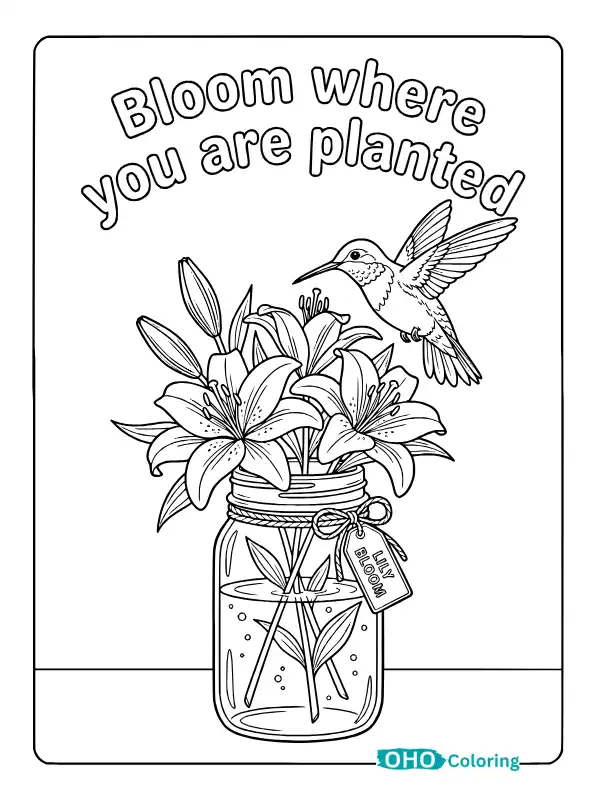
The Hummingbird and the Open-Letter Quote
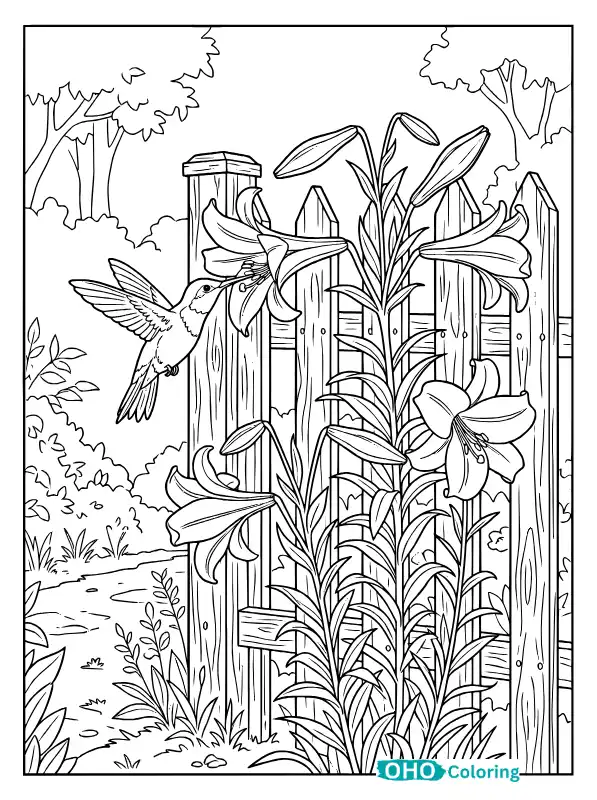
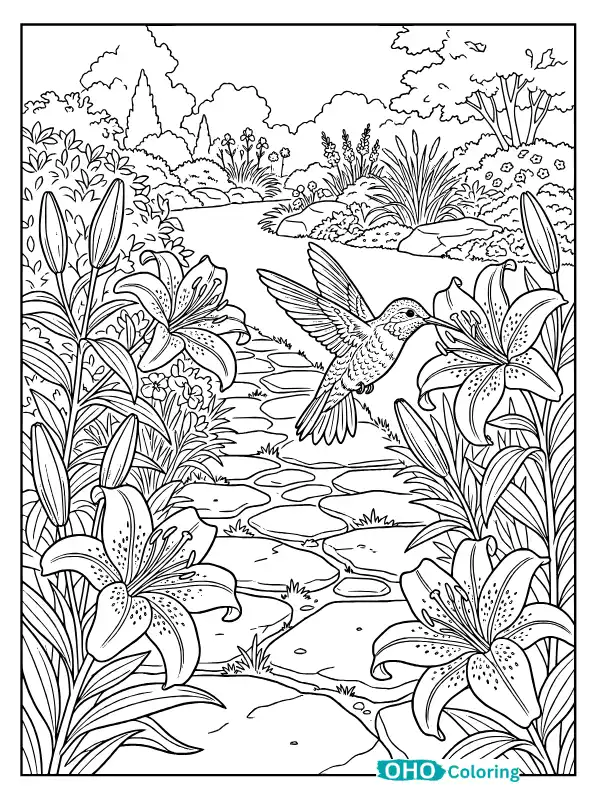
As soon as Grandma started watering, she would put a finger to her lips and shush Emma, because a hummingbird had arrived to hover above the lilies. One page shows exactly that scene, with a sentence written in big letters inside an arch at the top: “Bloom where you are planted.” A hummingbird’s wings beat more than fifty times a second, which is why it can stay in one spot and sip nectar. It can also fly backward, something very few birds can do. Emma filled its wings with green, blue and purple, and gave every bubble letter a different color. The moment her poster went up on the wall, that corner of the room looked brand new.
Easy Tips for Coloring Lilies
By the time she had colored all those pages, Emma had figured out a few things on her own. The first is to color a petal from the edge toward the middle. The center stays a little lighter, and the flower looks rounded. In the same way, if you want to blend two colors, lay down the light one first, then run the darker one lightly along the edge, and the line between them will melt away.
Save the spots on a tiger lily for last. Fill in the orange first, then add small dots of brown or deep red, and they will stand out clearly.
Chunky crayons are easiest for little kids, while older kids can try colored pencils or fine-tip pens for detail work. If you are using markers, print the page on thick US Letter (8.5 x 11 inch) paper so the color doesn’t bleed through.
One of Grandma’s lessons applies here too. Real lily pollen leaves stubborn stains on clothes, and if you have a cat at home, keep these flowers away from it, because lilies are poisonous to cats. The paper lilies come with no such worries, so a child can lean in close and color for as long as he or she likes.
And finally, the colors don’t have to match real flowers. Emma once drew a blue tiger lily, and Grandma stuck it on the refrigerator door before anything else.
Print out the pages, open the crayon box and let your child pick the lily that catches their eye first. When the coloring is done, hang the page on the wall or the fridge, just the way Grandma did. The next time a butterfly or a bee shows up in the yard, your child might just announce that it’s the one from their page.