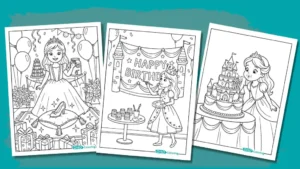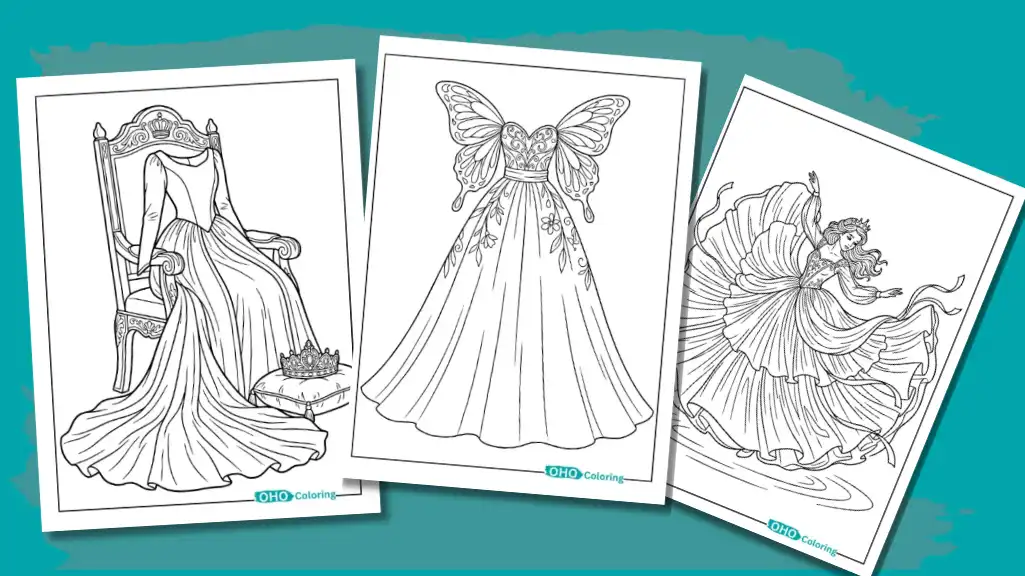
Kids will often stop mid-coloring and ask what’s hiding underneath such a huge skirt. Go looking for the answer to that one question, and the stories behind the gowns start to unfold. We built these Princess dress coloring pages around exactly those stories, so kids learn a bit of dress history while they color.
One gown rests on a heavy steel hoop, another has a lace collar stiffened with starch, and another floats like feathers on a ballet stage. From the printable pages below, I’ve picked seven gowns. Each one comes with a short story and a few things kids can learn while they color.
Printable Princess Dress Coloring Pages
Tap an image to open the high-resolution PDF. Each sheet prints cleanly on 8.5 x 11 inch paper, so you can print one gown or all seven.






The Stories Behind Our Princess Dress Coloring Pages
Every gown on these pages has a story behind it. Here are seven of them, along with a few facts kids can pick up while they color.
The Victorian Hoop Skirt Gown: The Secret Behind the Wide Skirt
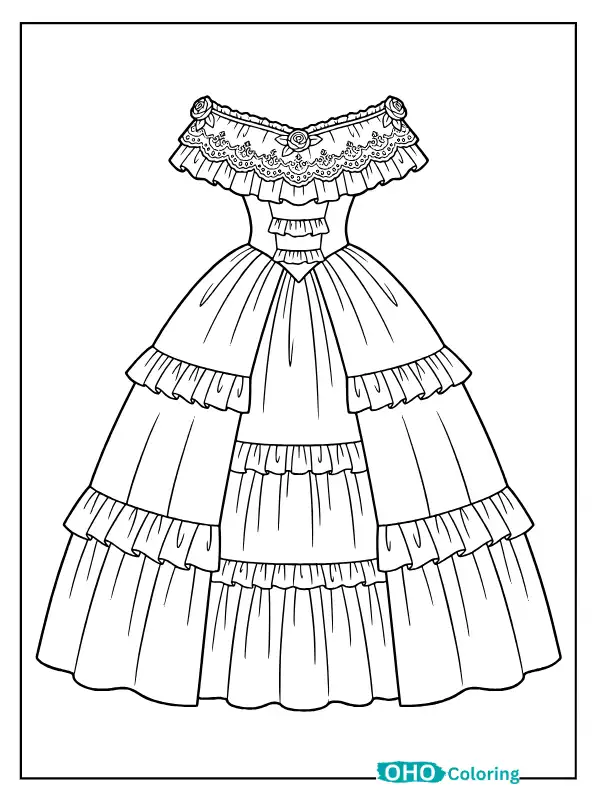
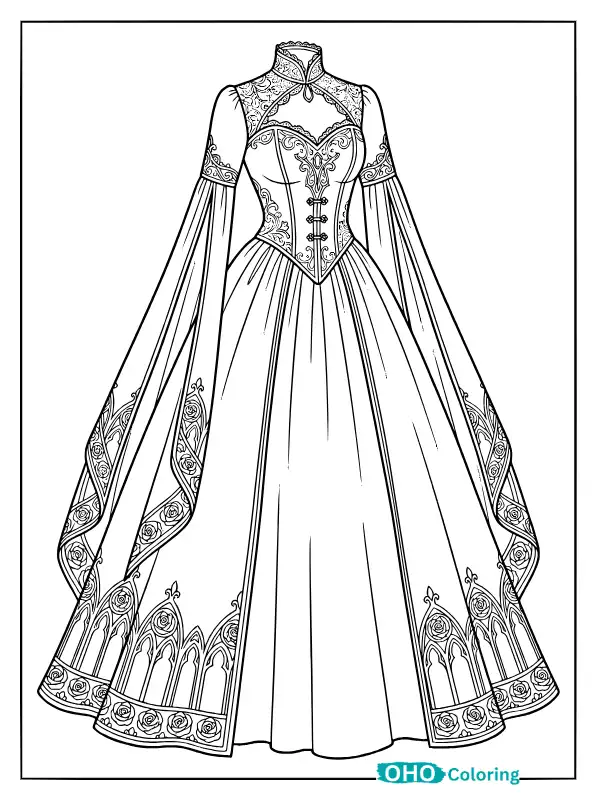
Let’s start with the gown that raised the question in the first place. The skirt on this page has several tiers of ruffles, a lace collar across the shoulders, and the whole gown seems to stand on a giant hoop. That hoop was real. In the mid-1850s, a lightweight frame of steel rings came into fashion, called a crinoline. Before that, women had to wear several heavy petticoats, one on top of another, to puff out their skirts. The steel frame cut the weight, and the skirt could still spread several feet wide.
That width comes in handy when you’re coloring. Give each ruffle tier a slightly different shade from the one before it, and the curve of the hoop shows up clearly on the page.
The French Rococo Gown and Its Hip Panniers
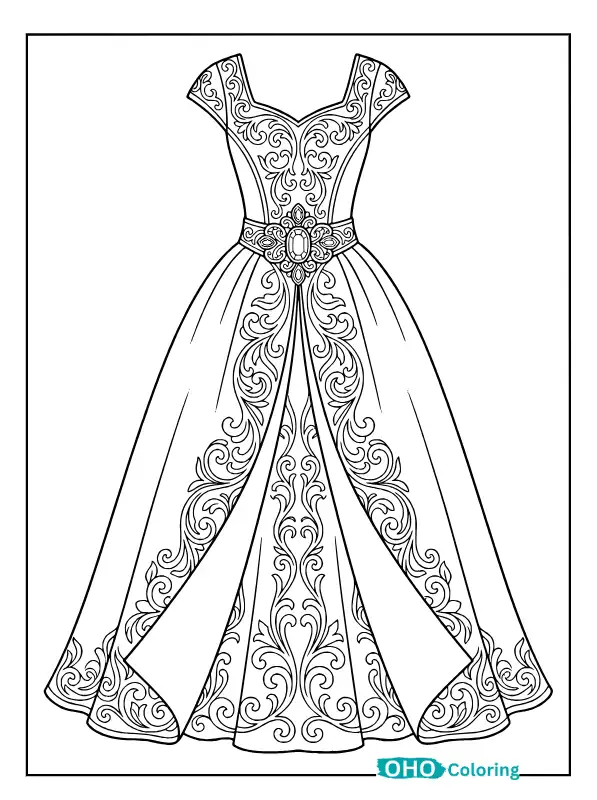
Since we’re on the subject of hoops, let’s look at a court gown from France, where the width spread out to the sides instead of all around. The hips of this gown carry wide shapes called panniers, a signature of the eighteenth century. They could get so wide that women had to turn sideways to get through a doorway. The sleeves of this gown are edged with lace ruffles, and little clusters of ribbon decorate the bodice.
Rococo art is known for soft pastel colors. That’s why sky blue, pink, and mint green look best on this page.
The Elizabethan Gown and Its Stiff Ruff
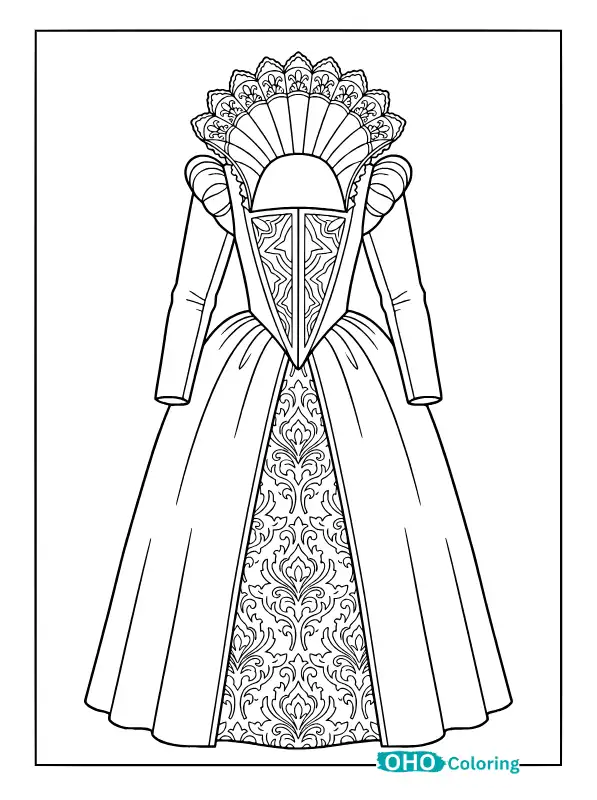
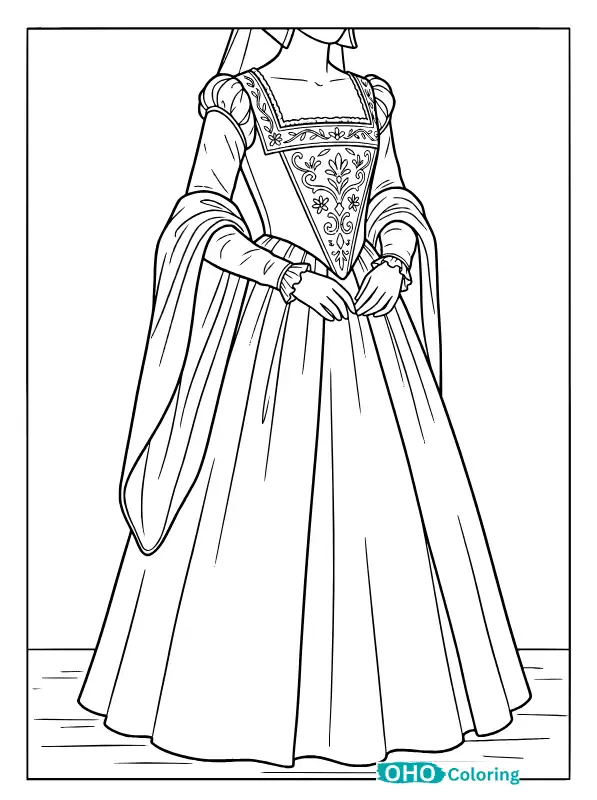
After the skirt, the next gown starts at the neck. It has a tall ruff of lace that stands up like a fan and looks a little like a plate. In those days, ruffs were made of fine linen. The linen was dipped in starch and shaped into folds with heated tools, which is why it stood up so straight. A tall ruff was often seen as a sign of rank, since it’s hard to do any work in something so delicate.
To make the ruff look like real lace, cream and soft gold work well. Then fill in the pointed V-shaped bodice with a deeper color, and the whole gown looks balanced.
The Unfinished Gown in the Dressmaker’s Studio
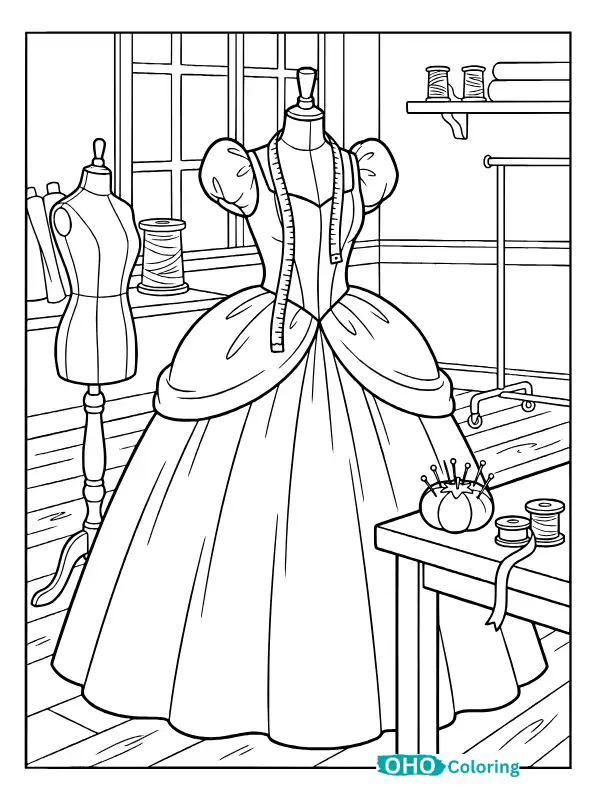
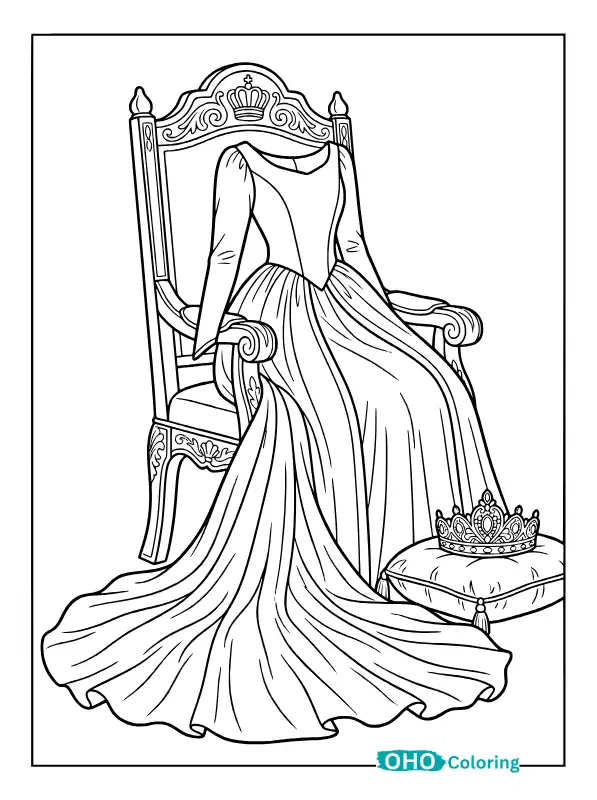
Now let’s step away from the finished gown and think about the hands that made it. This page shows an unfinished gown hanging on a dress form in a dressmaker’s studio. Real tailors and dressmakers also drape fabric over a form like this to check the fit and the way the fabric falls. Before cutting into expensive fabric, they often make a test version of the gown from cheap cotton, called a muslin mockup. Mistakes show up on the mockup, and the real fabric is saved.
There’s a fun way to color this page. Fill in the finished parts of the gown with a deep color and the unfinished parts with a light one. That way, the half-done work shows up right on the page.
The Swan-Inspired Ballet Gown
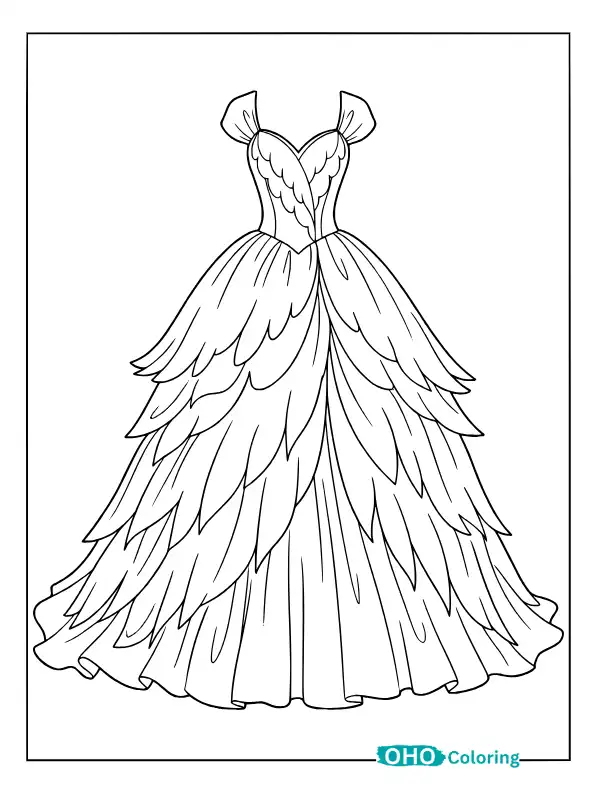
From the dressmaker’s studio, let’s head to the stage. The skirt of this gown has layers that look like feathers, and the top has a petal-like shape. The ballet “Swan Lake” was first performed in Moscow in 1877. Ever since, the swan and the ballerina’s costume have gone together in people’s minds. A ballerina’s tutu is made from many thin layers of tulle, which is why it lifts and looks so light when she spins.
There’s one fact about swans that often surprises kids. Baby swans, called cygnets, aren’t white. Their feathers are brownish-gray, and the white comes in slowly. Knowing that, it’s fun to fill the bottom layers of the skirt with light gray and leave the upper layers white.
The Royal Gown with a Peacock Feather Train
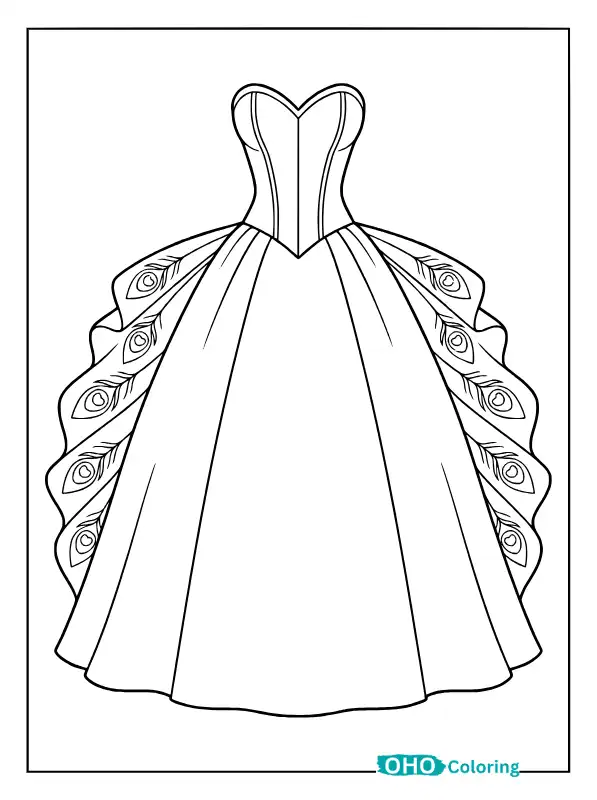
Since we’re talking about feathers, we can’t skip the peacock. Behind this gown trails a long train patterned with peacock feather “eyes.” A real peacock’s tail has roughly 150 to 200 long feathers, and that showy tail belongs only to the male. The female, called a peahen, is brown and plain. Every year the feathers fall out and new ones grow in.
In the center of each feather eye, use a deep blue, then green around it, and gold on the outer edge. Real peacock feathers show their colors in this same order, so the whole gown ends up looking like a feather.
The Mermaid-Style Gown with Pearl Scallops
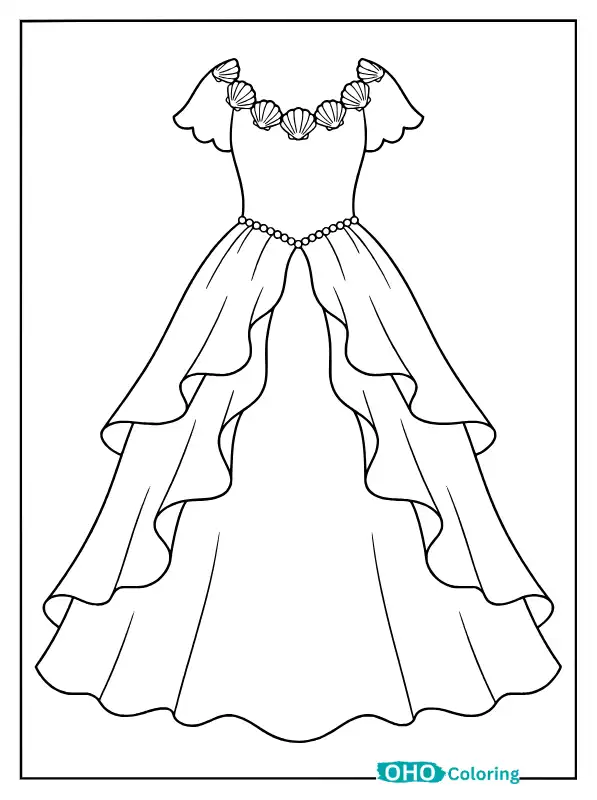
After the peacock’s colors, let’s head toward blue-green water. The top of this gown fits close to the body and then opens into waves toward the bottom. Rows of round, pearl-like scallops cover the whole skirt. A real pearl forms inside an oyster. When a tiny particle slips inside, the oyster keeps coating it with shiny layers, and over years that particle becomes a round pearl.
On this page, it’s nice to color each scallop one at a time in a slightly different light shade. Mixing white, light pink, and light blue gives the scallops a pearly shine.
Easy Tips for Coloring Princess Dresses
All seven of these pages have one thing in common: a little planning goes a long way before you start coloring each gown. First, take in the whole page at a glance and decide what color the skirt will be, since that’s the biggest part. Choosing the other colors around it keeps the gown looking harmonious.
Start coloring with a light hand. If the first layer is light, the second layer adds depth on top of it, and a small slip won’t ruin the page. Giving each layer of the skirt a slightly different shade from the one before it makes the difference between the upper and lower layers easy to see.
For small details like lace and ruffs, a sharp colored pencil or a fine-tip marker works well. Wax crayons, on the other hand, fill big areas quickly. Save gold and silver for buttons, embroidery, and crowns, because using them over a whole skirt dulls their shine.
If younger kids are sitting with you, let them fill in the big parts first, like the skirt and the ribbons. The fine lace work can wait until later. And always let your child choose the colors, because a green gown looks just as royal as a pink one.