Last summer my daughter Emma rolled a whole watermelon across the backyard and then spent an hour counting its stripes with her finger. That was when I knew it was time to put together Watermelon Coloring Pages, because kids don’t just eat watermelon, they play with it. They thump it, sniff it, and the minute it’s cut they start counting seeds.
Watching that curiosity, I picked pages that show the whole life of a watermelon: a little fruit hanging on the vine, a honeybee on a blossom, a wagon piled with melons and a grinning slice. The lines are clean and there’s plenty of open space. A three-year-old can color without getting frustrated, and an older child can invent stripe designs of their own.
Printable Watermelon Coloring Pages for Kids
Pick any sheet below and tap the image to open it. Each one downloads as a high-resolution PDF that prints cleanly on US Letter paper.
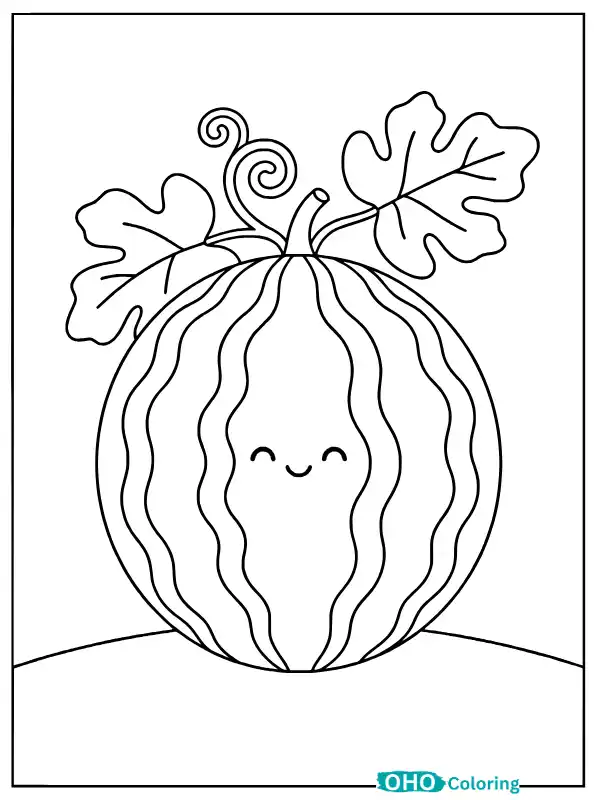


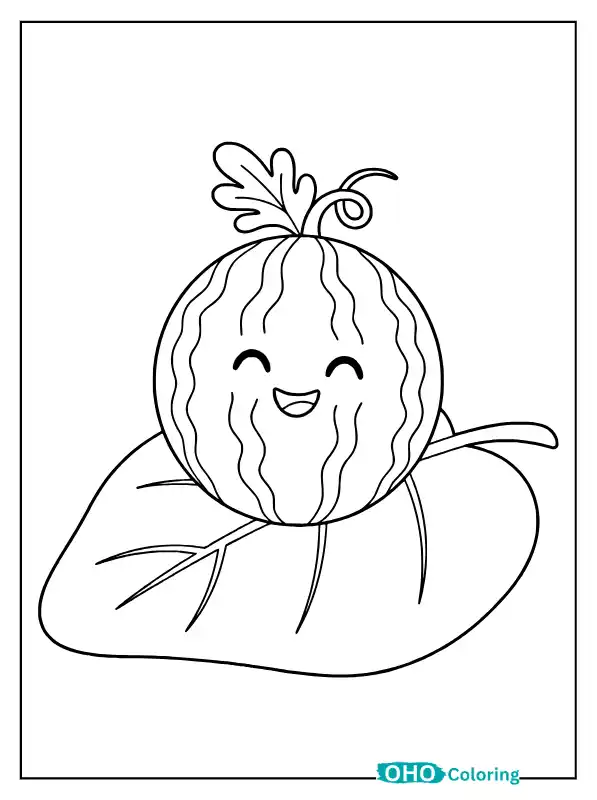




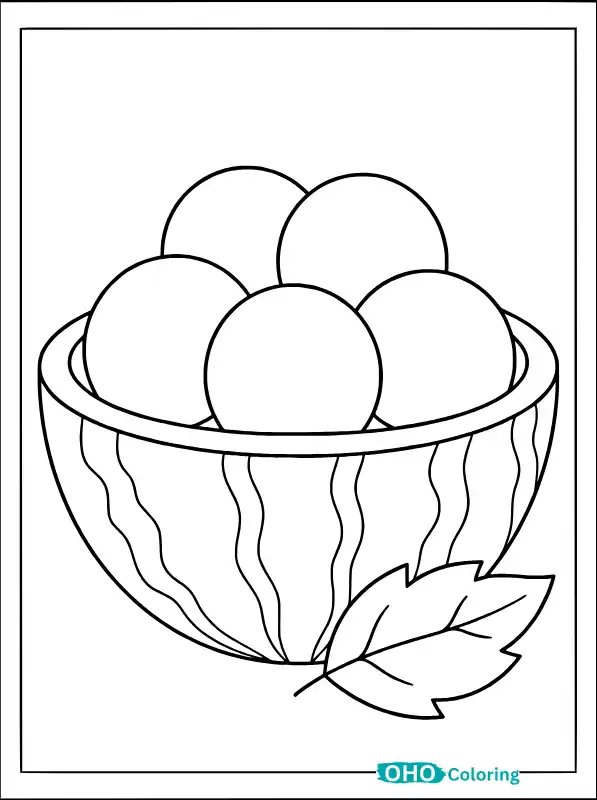
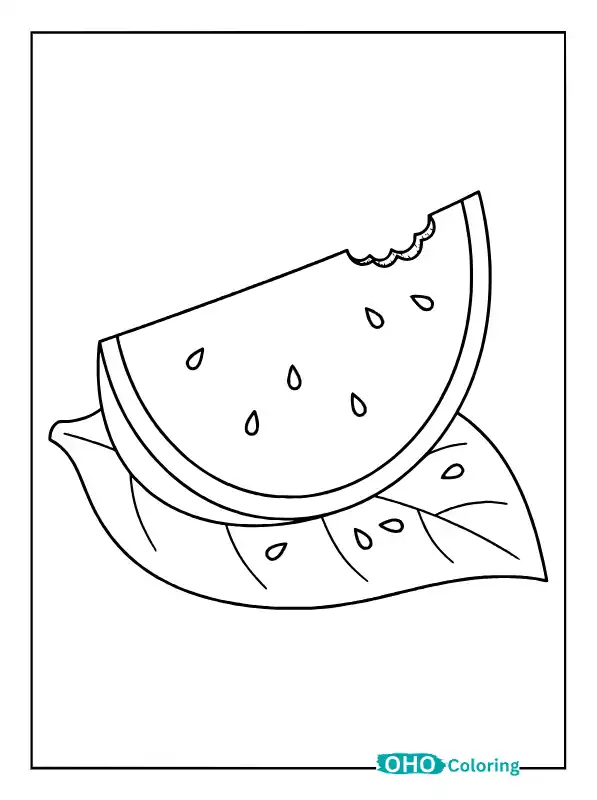


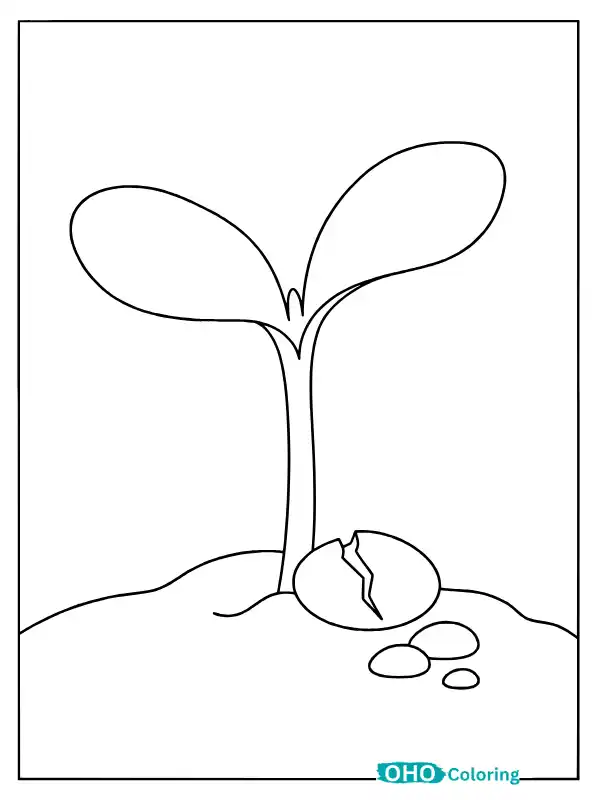
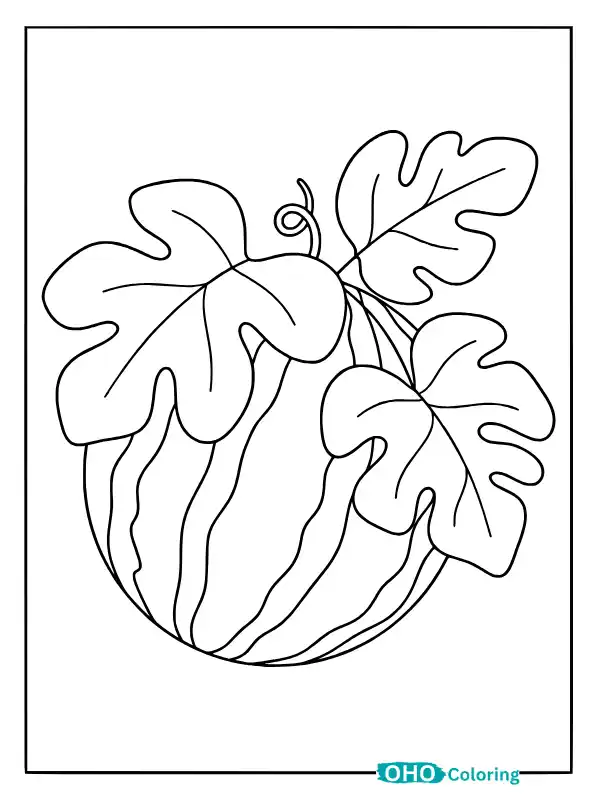
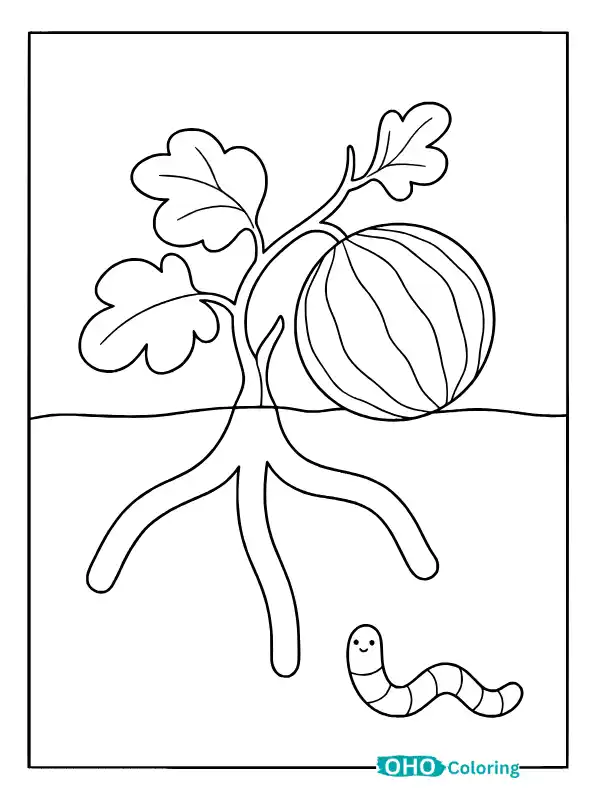


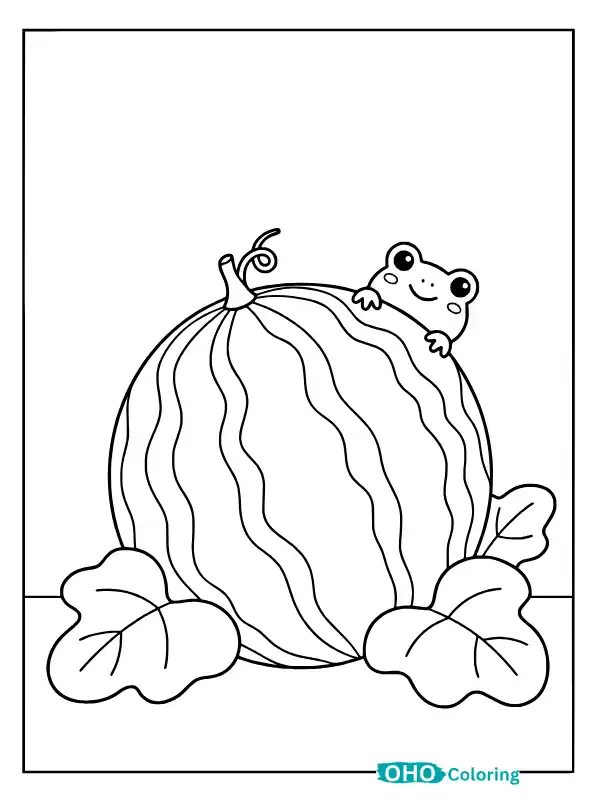
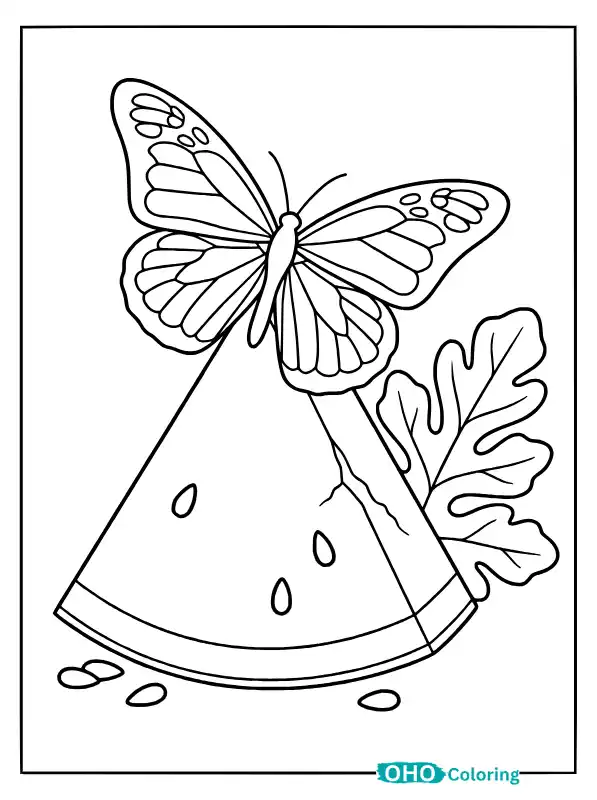




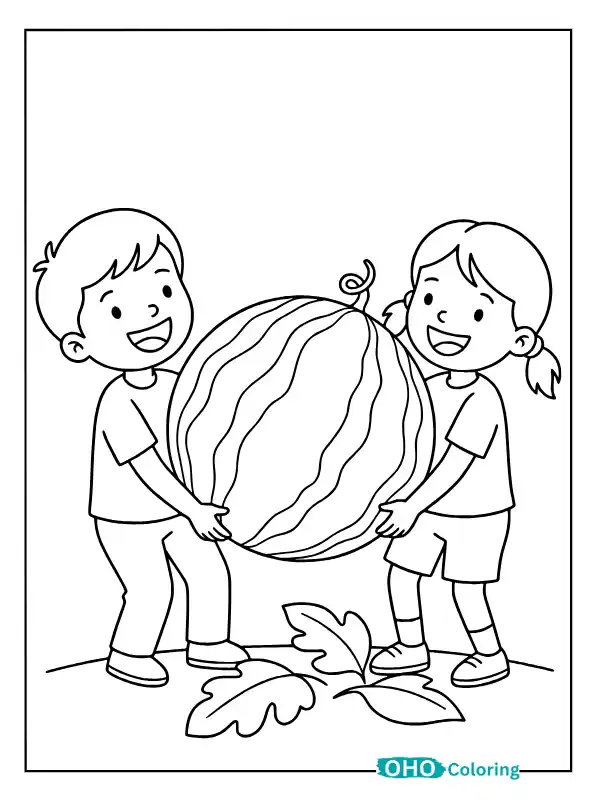



The Watermelon Story: From Blossom to Slice
I arranged these pages in the same order a watermelon grows in the field. First a yellow blossom opens, then a tiny fruit swells behind it, then the melon gets big enough to head from the field to the house, and finally it ends up sliced on a plate, smiling. Color them one at a time with your child, and each page will start the conversation for the next one.
A Honeybee Landing on a Blossom
The story starts with a yellow flower, so the first page does too. A fuzzy honeybee is landing on an open blossom while a small melon waits below. Kids often ask whether watermelons grow on trees. They actually grow on a vine that sprawls along the ground, and the vine has separate male and female flowers. Without a bee carrying pollen from one to the other, no fruit would form. Color the flower deep yellow and the bee brown and black.
A Baby Melon Growing Behind a Faded Blossom
Once the bee has done its job, the flower begins to wilt. This page shows a drooping yellow blossom with a fuzzy green baby watermelon swelling right behind it. That little fruit sits behind the female flower from the start and only begins to grow after the pollen arrives. Kids are often amazed that something so big was ever this small. Use light green for the fruit and a few very soft pencil strokes for the fuzz.
A Ladybug Crawling Over the Stripes
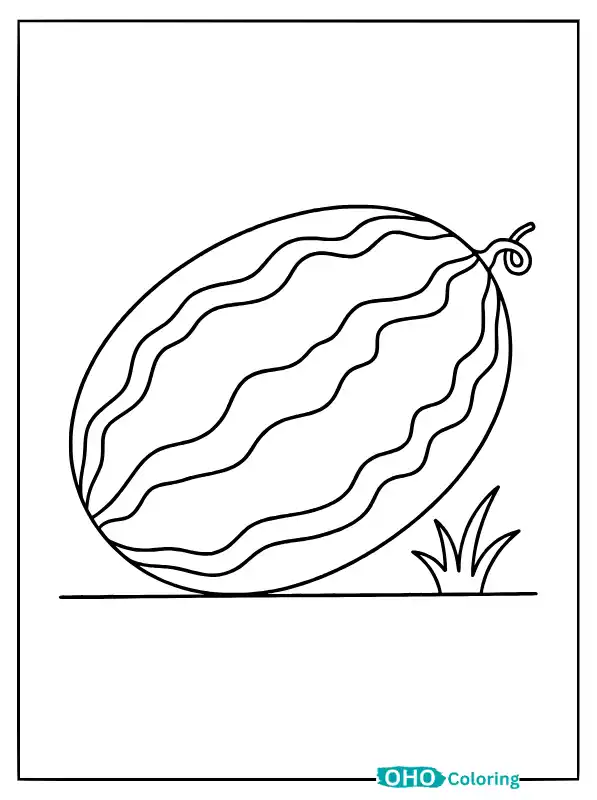
When that baby fruit grows up, its wavy stripes show clearly, and so do the visitors walking across it. Here a spotted ladybug climbs a ripe watermelon. Gardeners think of ladybugs as friends, since they eat the aphids that suck the juices out of plants. So the vine has its own little guards patrolling it. Every watermelon has its own stripe pattern, so have your child alternate light and dark green and notice that no two melons look the same.
Thumping a Melon to Test It
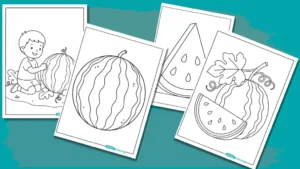
Once the stripes deepen, farmers check the fruit before they pick it. In this scene a child kneels in the patch and knocks on a big watermelon as if it were a door. A ripe melon answers a thump with a deep, hollow sound. Another clue hides underneath: the spot that rested on the ground turns pale yellow. Color that spot cream or yellow. If you have a real watermelon at home, let your child thump it before coloring.
A Wagon Loaded With Heavy Melons
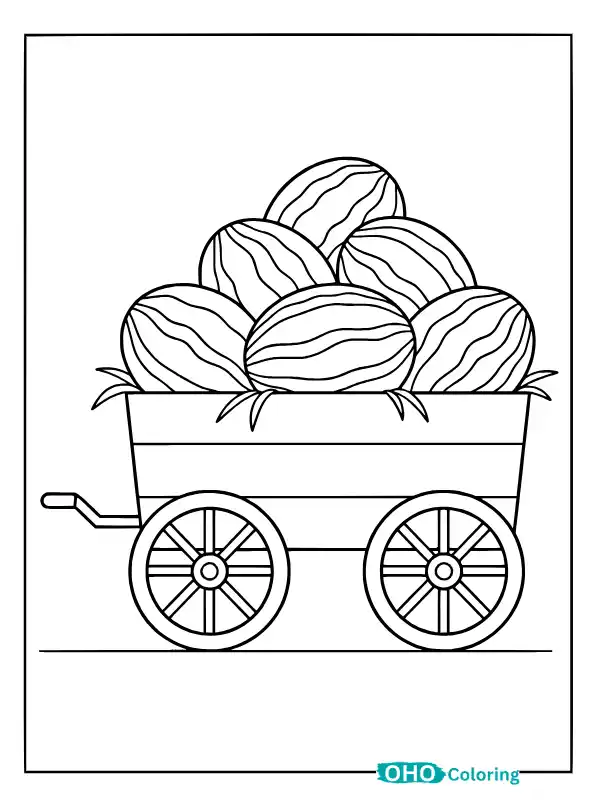
When the thump sounds right, the melon is picked, and then comes the hauling. On this harvest-day page a farm wagon carries five plump watermelons on a bed of straw. A single watermelon can weigh anywhere from a few pounds to 20 pounds or more, which is why big farms move them by wagon. Kids usually give each melon a slightly different green, and the wagon looks full and busy. Try brown for the wheels and pale yellow for the straw.
Seeded and Seedless Watermelon
From the wagon, the melon makes its way to the kitchen and gets cut, and kids’ eyes go straight to the seeds. This page shows two wedges on one plate. One has big black seeds and the other has only a few pale white specks. A seedless watermelon starts to form seeds, but they stay as soft, empty white shells. Both wedges are juicy, because a watermelon is about 92 percent water. Leave the white specks white.
The Grinning Slice With Seed Eyes
Since we’ve been talking about seeds, the last page turns them into eyes. It’s a grinning slice with seeds for eyes, rosy cheeks and a tiny leaf on top. Little kids laugh out loud at this one, and it holds their attention longer than any other page. There are no rules here. Your child can make the cheeks blue or the seeds red, just ask which joke the watermelon likes best.
Tips for Coloring Watermelons
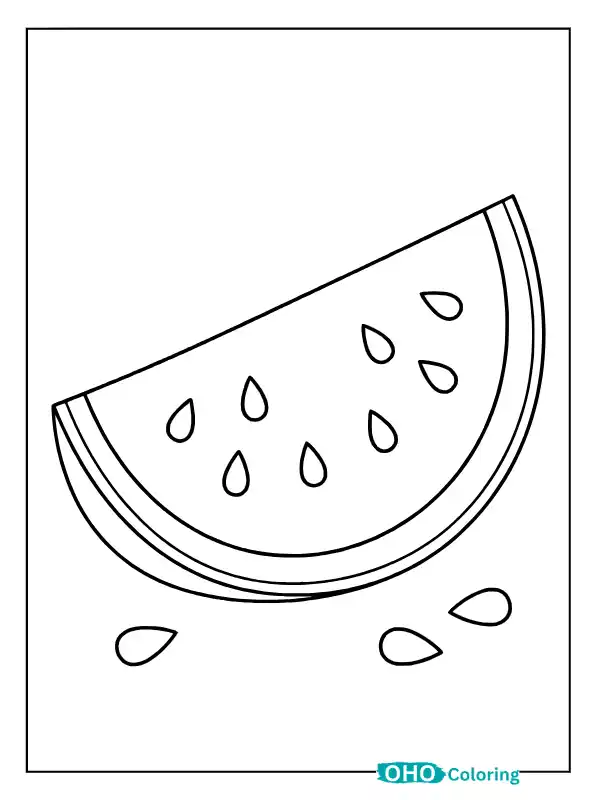
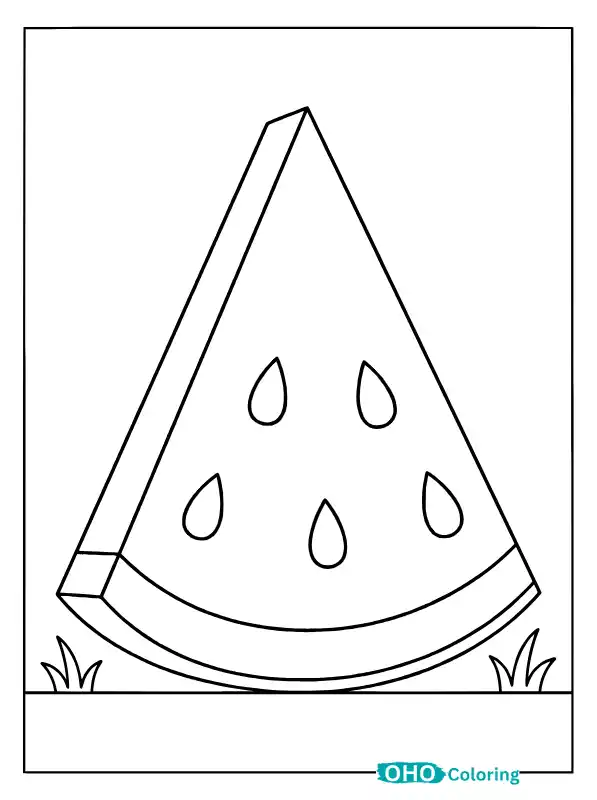
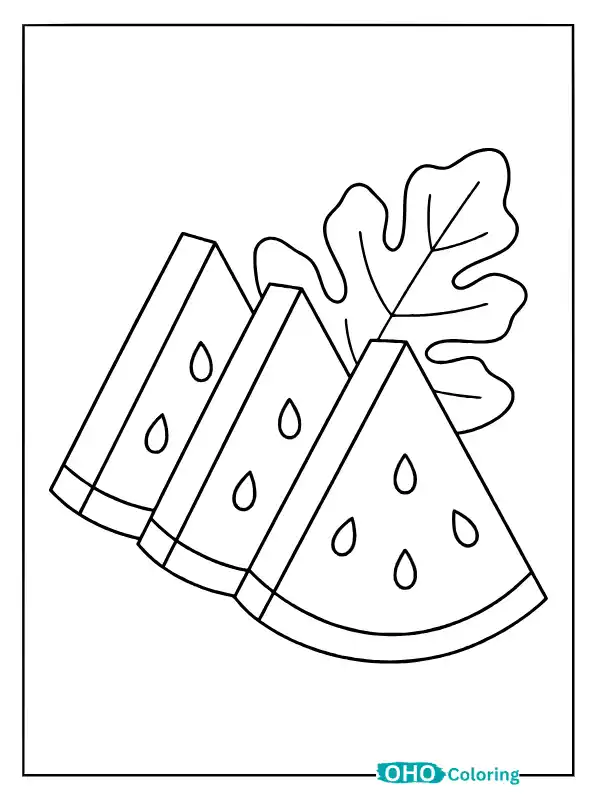
One thing helps on all seven pages, and that’s the stripes. Fill the whole melon with light green first, let it dry, then draw wavy bands over it in dark green. For the flesh, mix a little pink into the red, with deeper red near the rind and lighter red in the middle, and the slice will look juicy. Leave a thin white band between the rind and the flesh, just like a real watermelon has.
When you color seeds, use dark brown instead of black, since black tends to smudge into the red around it. Chunky crayons work well for little hands, and colored pencils suit older kids who want to layer light and dark. Don’t color every leaf the same green. Make one lime green and the next a deep forest green. If the page starts to feel heavy with red, color the bee or the ladybug blue or yellow to give the eye a rest.
These pages print comfortably on US Letter paper (8.5 x 11 inches) and suit kids from about 3 to 12 years old. When your child finishes a page, cut a slice of a real watermelon and let them compare it with the picture they colored.
46 Pages for You, Seven Stories Above
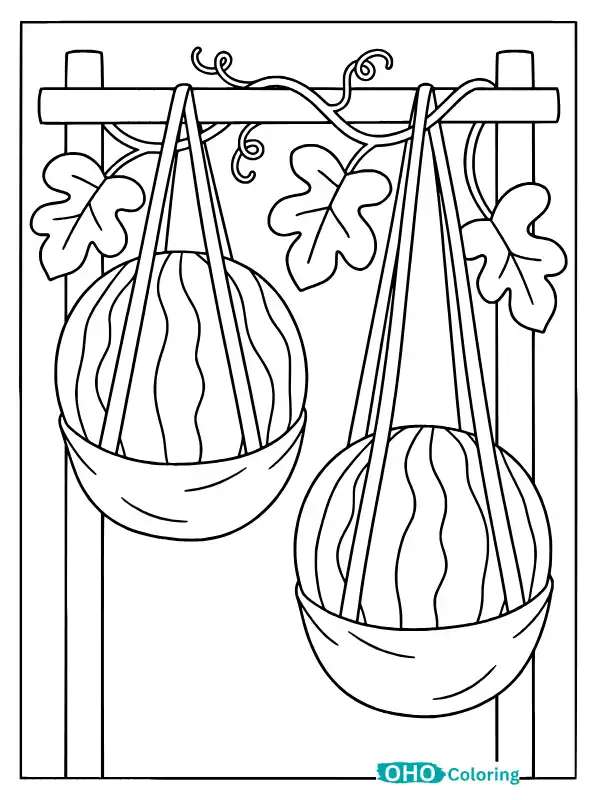
We’ve given you all 46 watermelon coloring pages in this post, but the story above talks about only 7 of them. The other 39 are just as much fun and are waiting for you in the grid. There’s a vine climbing a wooden trellis with fruit hanging in cloth slings. There’s a kid biting into a juicy slice at a picnic table, a roadside farm stand with a hand-painted sign, and a sleepy patch at dusk with fireflies all around.
Every page has its own little story, and your child finishes it while coloring. My suggestion is to pick a new page each day, let your child color it, and then ask what was going on in the picture. That way the other 39 stories get written in your child’s colors.