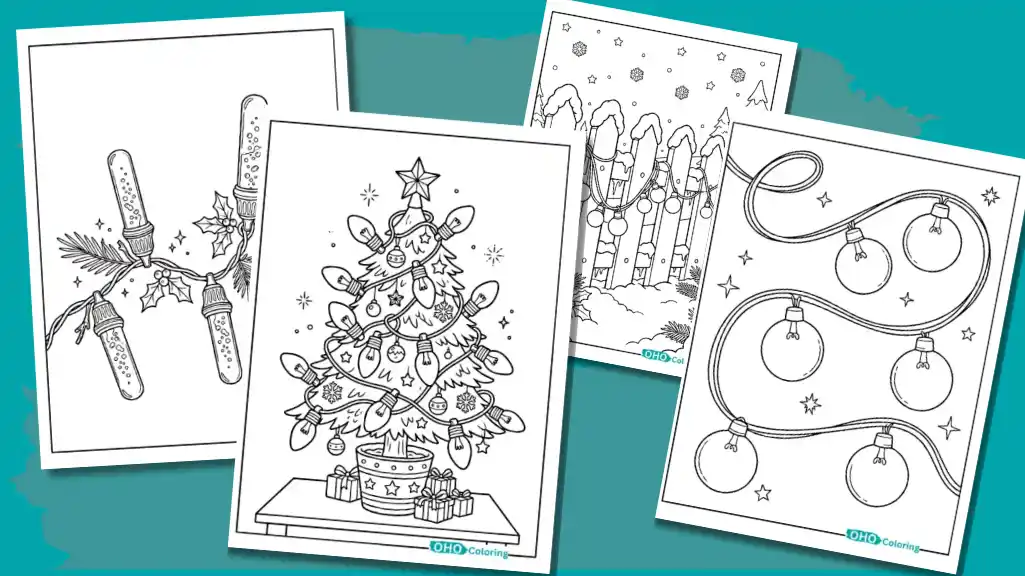
The story of these Christmas Lights Coloring Pages began one December evening with an old box brought down from the attic. My daughter and her little brother were sitting on the floor, and inside the box a long strand of lights lay twisted into knots. After half an hour of untangling, she said, “Mom, just draw it on paper. Then it can’t get tangled!” She said it as a joke, but that same night we printed big, simple Christmas lights pages and spread the crayons across the kitchen table. The pages show only bulbs and whatever they hang on, like a roofline, a picket fence, a tree, or a glass jar.
There are no characters, so all the attention stays on the shapes of the bulbs and the colors. Younger kids get chunky round bulbs, and older kids get long, curvy strands. That tangle in the box turned out to be the reason we started coloring, and within an hour the table was covered in crayons.
Printable Christmas Lights Coloring Pages
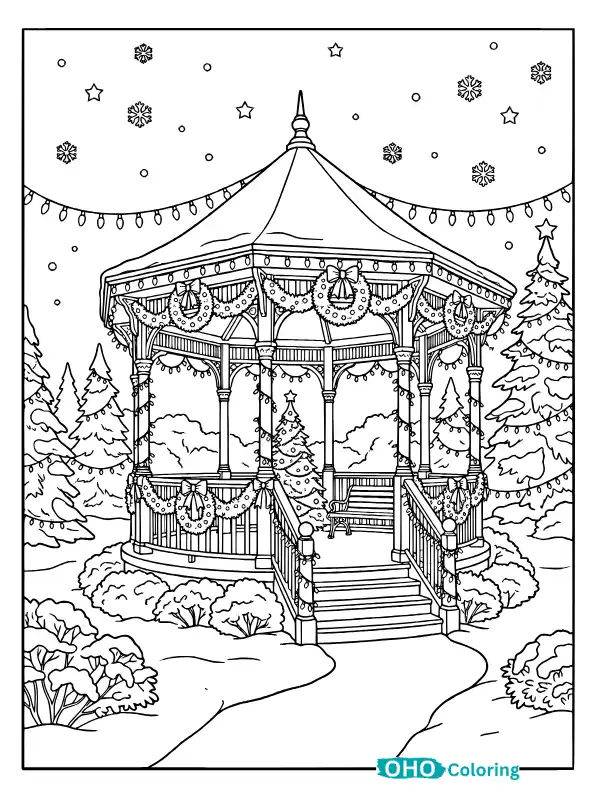
Tap any image below to open the full-size page. Each one downloads as a high-resolution PDF that prints cleanly on standard letter paper.






Eight Pages From That Evening and What We Learned
First Up: One Giant C9 Bulb
My daughter picked the simplest page from the pile. It shows one big C9 bulb with its socket and a curly wire. She filled the bulb with deep orange and said, laughing, that it looked like an upside-down carrot. She wasn’t wrong, because the C in C9 refers to the bulb’s cone shape. Older bulbs had a glowing filament inside, while today’s LED strands use a tiny diode. When her crayon reached the socket, her little brother leaned over and asked if all bulbs were this big.
From Tiny to Giant: A Row of Bulb Sizes
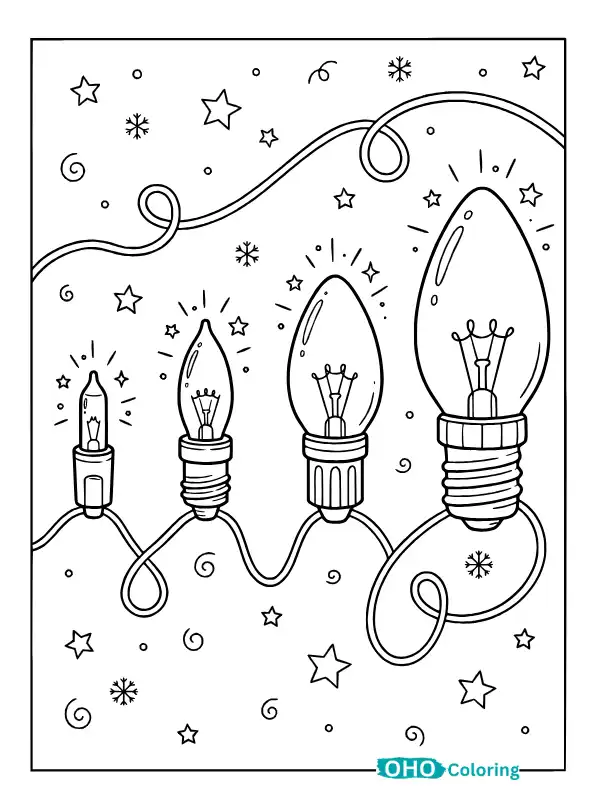
The answer to his question was the page with bulbs lined up in a row, four of them on one wavy wire, from the smallest mini bulb to the biggest C9. He named them “Tiny, Middy, Big, and Giant.” Strands really do come in different bulb sizes, small ones for thin tree branches and chunky ones for rooflines. We made a color rule too: the smallest bulb got the lightest color, and the shades got darker as the bulbs got bigger. Hearing those names, my daughter remembered a question of her own about when bulbs were first put on a tree.
Candle-Style Bulbs and a Little Christmas History
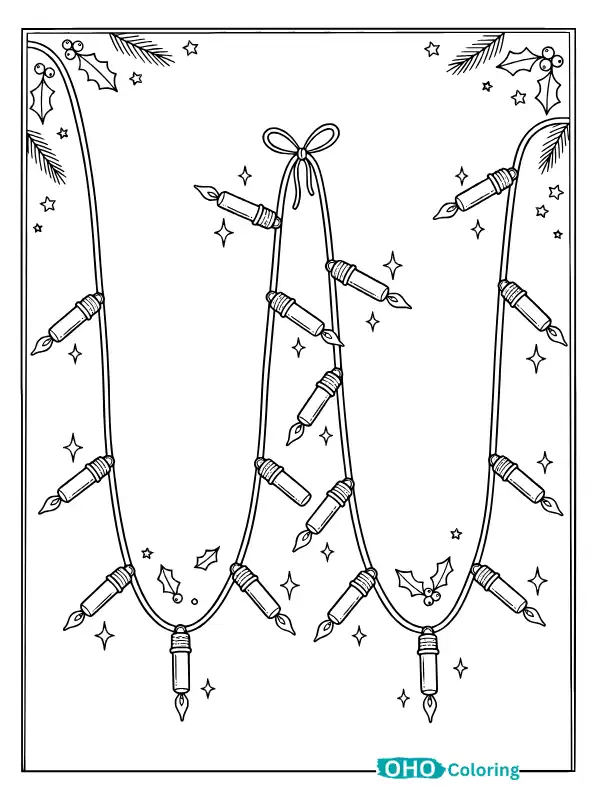
To answer her, I handed her the candle-style bulbs page, where every bulb has a tiny flame on its tip. I told her that German families lit their trees with real candles starting around the 1600s. Then in 1882, Edward H. Johnson, who worked with Thomas Edison, made the first tree lit with electric bulbs. Pre-wired kits for ordinary homes arrived in the early 1900s, and LEDs began taking over in the late 1990s. My daughter filled each flame with yellow and blended a little orange at the tip, and the bulb really did seem to flicker. Then her eyes landed on the stars hiding in the pile of pages.
A Curvy Strand of Star-Shaped Bulbs
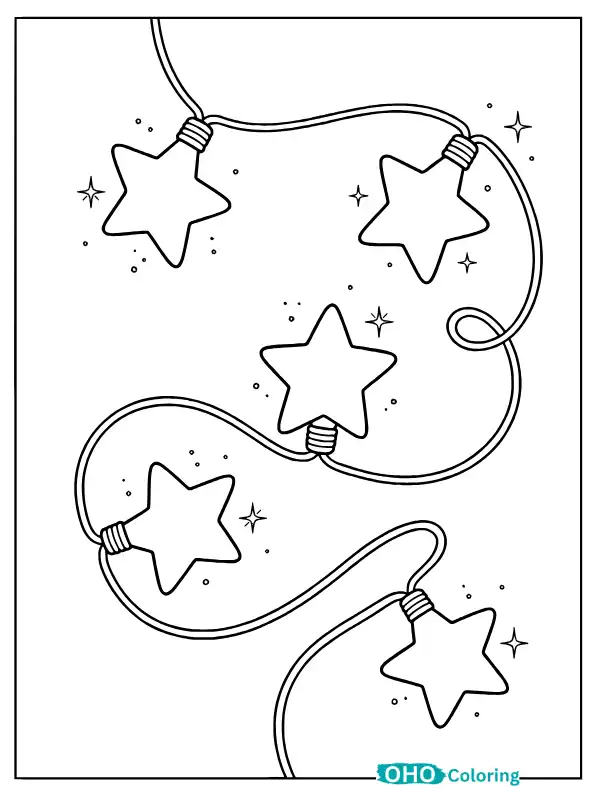
The star page has five big stars hanging along a curvy wire. My daughter loves “odd one out” bulbs the most, like stars, snowflakes, and flame shapes that stand out from the round ones. She colored every star a different color but kept the edges yellow so they would still look like one strand. By then her brother was staring out the window at the lights on the neighbor’s roofline.
Icicle Lights Dripping From the Gutter
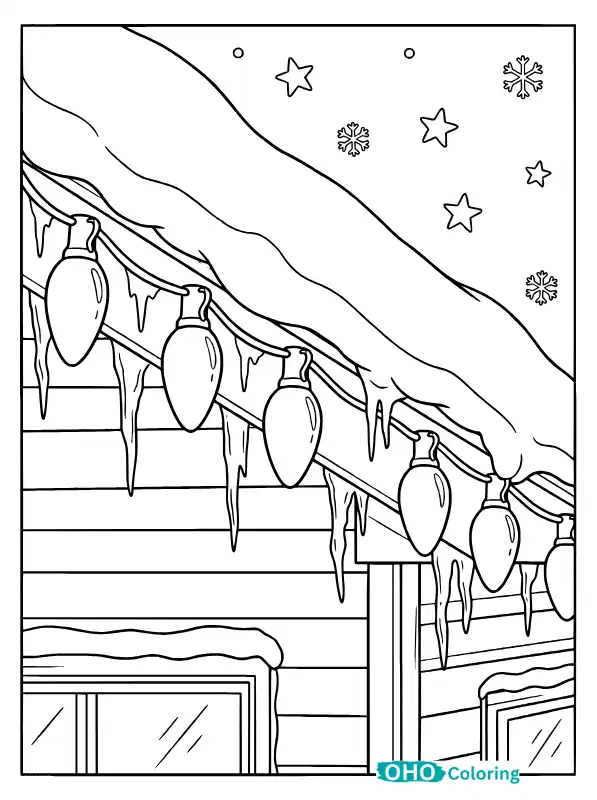
At his request, we pulled out the icicle lights page. Strands of different lengths drip from a straight gutter line, and he decided no two would get the same color. One came out blue, one purple, and one half green. The uneven lengths are on purpose, so the strands look like real icicles hanging from a roof. He left a little white space near each tip, and the shine showed up all by itself. Then he remembered the round bush in the neighbor’s front yard, covered in lights like a net.
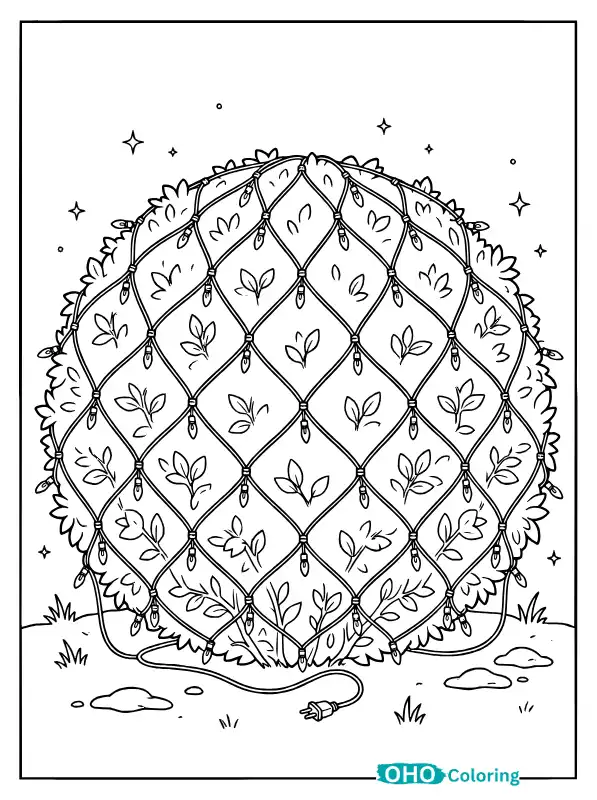
Net Lights Draped Over a Round Bush
That net is on the net lights page, which shows a round bush covered in a diamond grid with a bulb at every corner. Net lights come as a flat grid, so instead of wrapping a whole strand around the bush, you just drape the net over the top. The bulbs on this page are small and there are a lot of them, so my daughter grabbed a sharp pencil and alternated two colors at the corners of the grid. Halfway through, she lightened the green of the bush so the bulbs wouldn’t get lost in it. Counting the corners of the net reminded her of the tangled mess that started our whole evening.
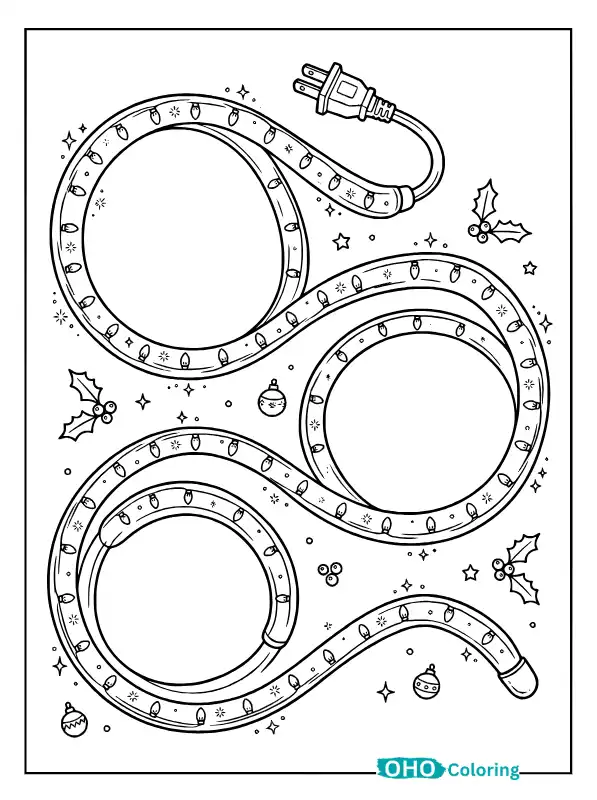
The Tangled Strand and the Lights That All Go Dark Together
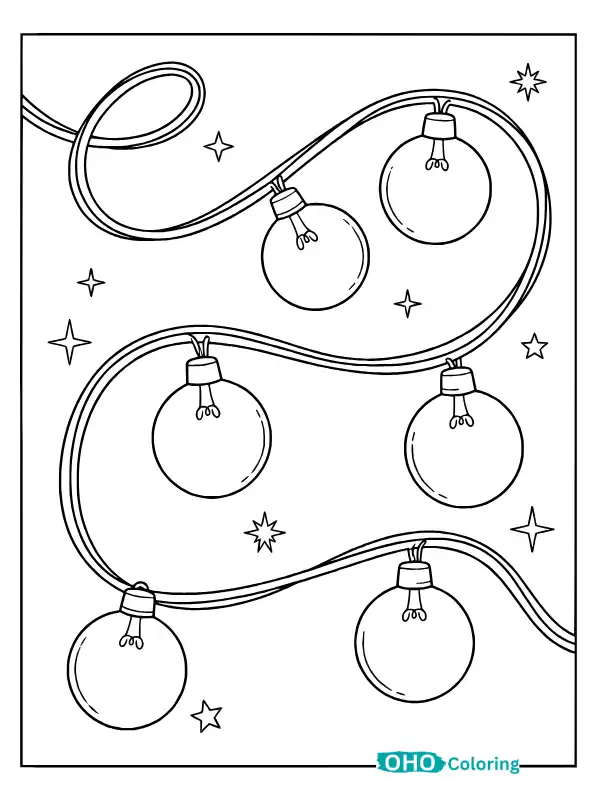
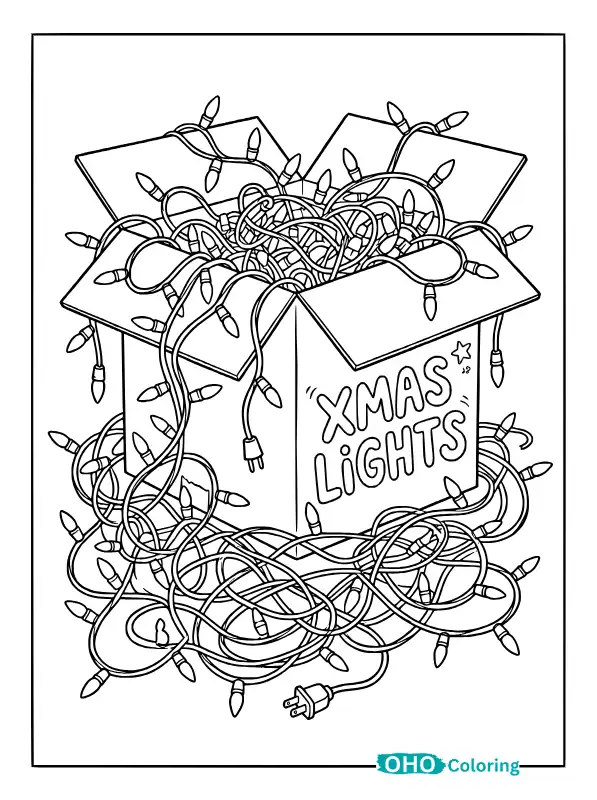
The tangled strand page shows exactly that mess, the same one that comes out of every box. It has big loops, bulbs squished in the middle, and one end that goes who knows where. I explained that on older series strands, all the bulbs sit on one circuit, so when a single bulb fails, the whole strand goes dark. Some strands stay steady, some twinkle, and some chase from top to bottom. My daughter followed the wire’s whole path with one colored pencil and colored every third bulb the same color, so it looked like the light was running down the wire. Once the knot was “untangled,” she said she wanted something small and calm for her bedroom.
Tiny Fairy Lights Inside a Glass Jar
That request made the last page a perfect fit. It shows a mason jar with a loose coil of fairy lights inside. The wire is so thin that even a pencil tip feels thick. LED bulbs run much cooler than older bulbs, which is why a real jar can hold them safely. We colored the jar light gray, split the bulbs between yellow, pink, and sky blue, and left a thin strip of the glass white.
By the time all eight pages were colored, the table was covered in crayons and the tangle from the box didn’t seem like such a problem anymore. Every page had given us a small something to talk about, and the kids were still repeating those facts the next day.
Tips for Coloring Christmas Lights
A few things stood out to us from that evening. The first is to check your child’s age before choosing a page. For kids three to five, the single C9 bulb and the bulb size lineup work well, since the shapes are big and the lines have plenty of room. Kids six to eight handle the star strand and the icicle lights easily. Save the net lights and the tangled strand for older kids, because they have small spaces and long paths.
Once you’ve picked a page, decide on the color for the sockets and wires, green, brown, or black, and fill them in with a sharp pencil in thin lines. Those darker colors make the bright bulb colors stand out later.
When you fill a bulb, go light in the middle and darker toward the edges instead of pressing one flat color, and the bulb will look like it’s glowing from inside. Leave a small round white spot in one corner to lock in that effect. On a long strand, set a pattern of two or three colors, like red-yellow-green, red-yellow-green. Kids say the pattern out loud as they color, and that cuts down on mistakes.
On pages with empty space in the background, try filling it with dark blue. Bulbs shine brightest against a night-sky background, and a few small stars drawn on top with a white gel pen make them pop even more. If you’re using markers or watercolors, pick cardstock or thick printer paper so the color doesn’t bleed through. When you print, set the page to Letter size (8.5 x 11 inches) and choose “Fit to page” so the border prints all the way around. Let your youngest start with just one big bulb, and when they feel comfortable, set the long strand pages in front of them.
After that evening, the tangled strand stopped being a headache in our house and became the next page to color. Print a page or two and sit down with your kids, and every so often ask what color their bulbs are glowing. Those small questions keep both the conversation and the coloring going.