During the first snowfall last winter, my daughter Emma stared at a snowflake that had landed on her mitten and asked, “Mom, where did this tiny star come from?” I had half an answer at the time, and we found the other half together while coloring pages side by side.
That one question is how our Snowflake Coloring Pages came to be. Every page shows a different ice crystal shape, and behind every shape is a short story about what happened up in the clouds. Let me tell you that story.
Featured Snowflake Coloring Pages
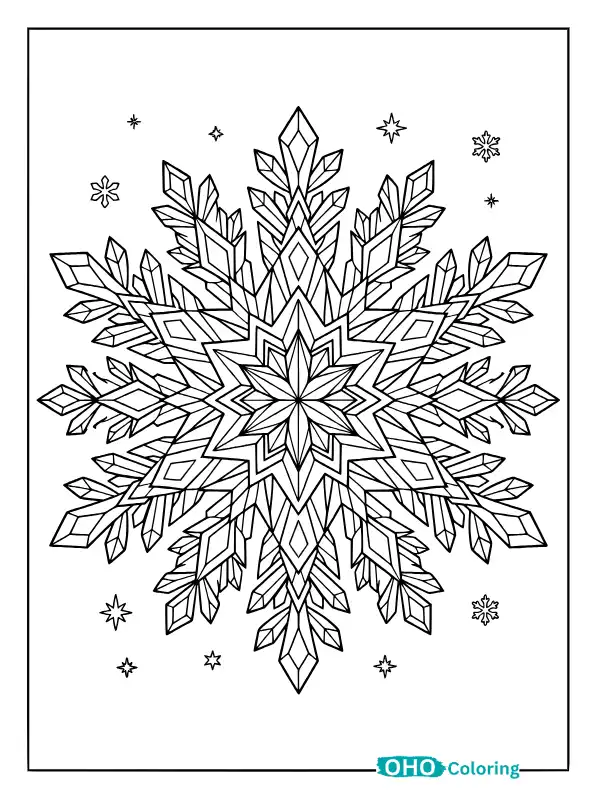
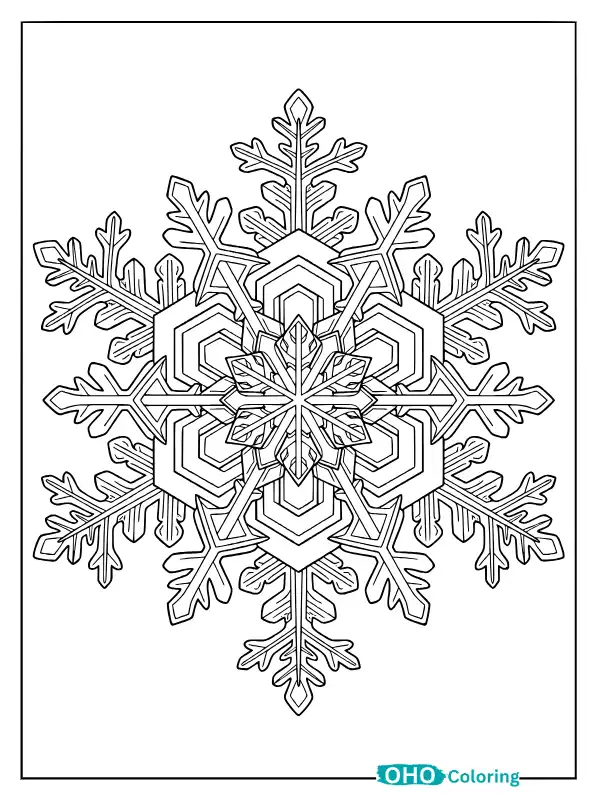
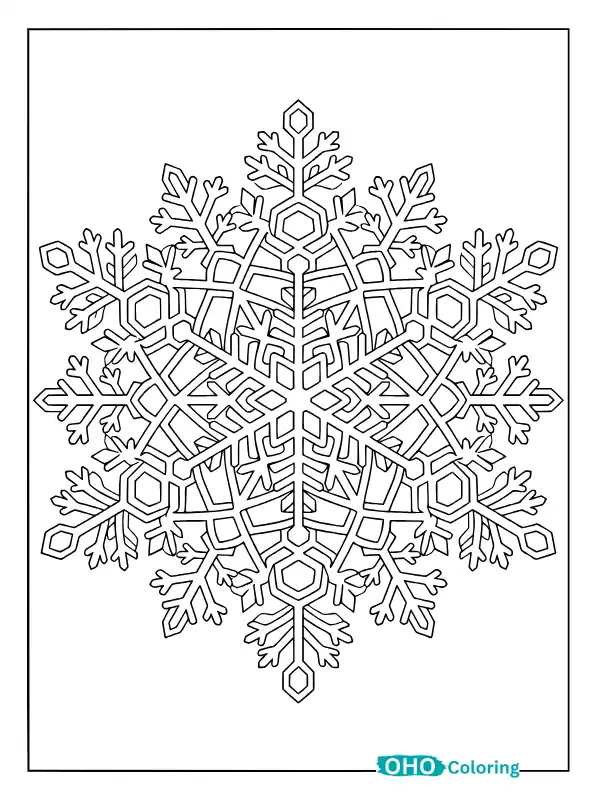
Pick a snowflake below and tap the image to open it. Each page downloads as a high-resolution PDF, ready to print.





Snowflake Coloring Pages Highlights
The First Plate, Resting on a Speck of Dust
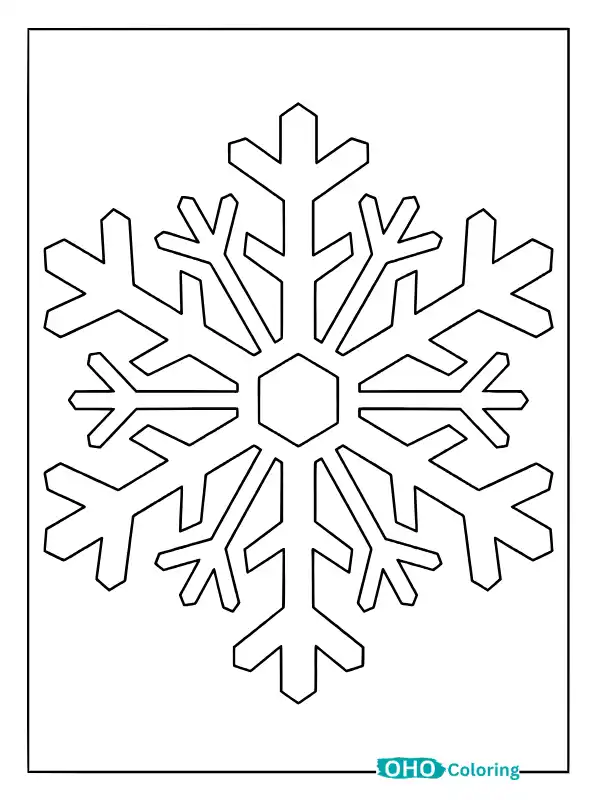
Every snowflake starts out very small and very ordinary. Water vapor freezes onto a tiny speck of dust or pollen floating in a cloud, and a little six-sided plate begins to grow from there. That same hexagon is on the simple hexagonal plate page.
Emma asked why it has to be a hexagon and not a circle or a square. That’s when we read that water molecules settle into a six-cornered lattice as they freeze. So ice always grows six corners, never five or seven. She colored each corner a different Crayola color and said, “These are six friends.” This page has lots of open space, so even kindergartners can finish it without feeling overwhelmed.
When the Air Changed, the Plate Became a Needle
The air inside a cloud never stays the same. When the temperature shifts a little, the same crystal stops growing wide and starts growing long and thin, and it turns into a needle of ice. The needle cluster page shows this turning point, with a bundle of sharp needles. These needles usually form when the air is around 32°F or just a few degrees below, and when it’s full of moisture.
Emma called them “snow pines,” and the bundle really does look like pine needles. A thick crayon gets stuck in these narrow lines. A colored pencil or fine-tip marker works much better here.
Caps on a Column: The Capped Column
Now the story takes a turn. As a simple column-shaped crystal drifts up and down in a cloud, it sometimes lands in a much colder layer of air. There, hexagonal plates sprout on both ends. The result is a capped column, which looks like a spool of thread.
This was my favorite page to color, because a column in one color with caps in another brings the whole picture to life. I told Emma to color the column yellow, and she shot back, “Snow isn’t yellow!” and then burst out laughing. Snow is white, but our colorful snowflake turned out even cuter.
The Leafy Star: Stellar Dendrite and Fern
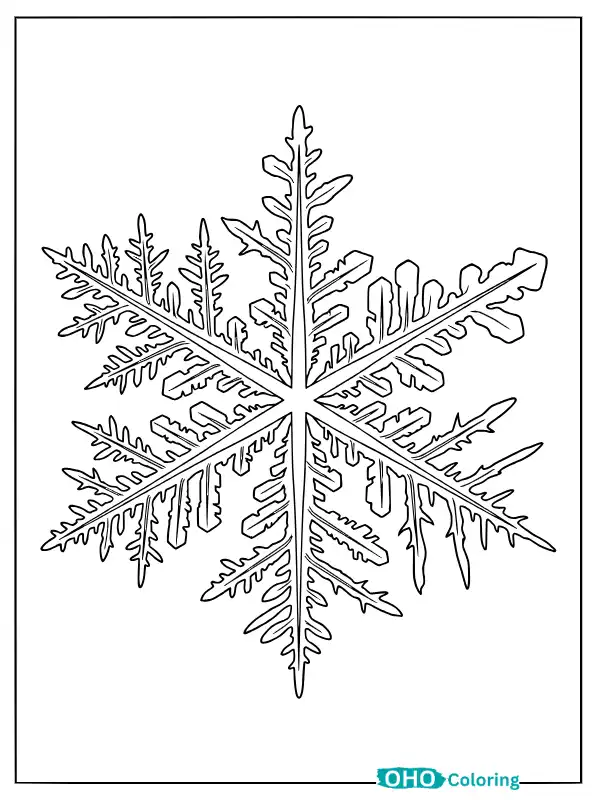
When the air is very cold and full of moisture, the crystal has plenty to grow with. Arms reach out from every corner, and smaller branches reach out from the arms. This is the star we’ve all drawn in the margins of our notebooks. The fern-like page even has little leaves along the branches, so it takes the longest to color.
There’s an easy trick for this page. Start an arm with dark blue and fade it lighter toward the tip. Repeat that on all six arms, and the whole star will look like it’s glowing from the inside.
The Man Who Photographed Thousands of Snowflakes
With so many shapes, one question comes up: do two snowflakes ever turn out exactly alike? Wilson Bentley, a farmer from Vermont, took the first photograph of a snowflake in 1885. He spent the rest of his life photographing thousands more, and no two were exactly alike.
You can use that fact yourself. On a snow day, print ten copies of one page and hand them to ten kids, and you’ll get ten different snowflakes. Teachers can try this in the classroom too.
Easy and Fun Coloring Tips
First, stop worrying about white. Real ice is clear, and it looks white only because light scatters inside it, so blue, purple, silver, and light green all work just fine.
After you pick your colors, make a pattern, like light blue in the first section of each arm and dark blue in the second. Repeat it on all six arms, and the picture gets the same balance a real crystal has.
If you want a frosty look, first draw a few lines on the page with a white crayon or a candle. Then brush a thin layer of blue watercolor over the top. The waxy parts won’t take the paint, and you’ll get marks that look like a layer of frost.
Fill in the background with navy blue or black and leave the snowflake white. Against the dark, the white arms glow all on their own. Then use a glitter gel pen to add small dots only at the tips of the arms, not all over the picture, or the thin lines will get lost.
Give younger kids the simple hexagon and thick crayons, and give older kids the fern page and colored pencils. Both will finish at their own speed.
When you’re done, tape the finished snowflake to a windowpane, in the same spot where Emma first watched the snow fall. Whether or not it’s snowing outside, you’ll have a little corner of winter in the room.